Sandpits are one of the simplest and most adaptable play features you can add to a backyard. Built with a little foresight, they become durable, low-maintenance spaces that support imaginative play, physical activity, and quiet concentration over many years. Thoughtful placement and construction make the difference between a sandpit that blends effortlessly into daily family life and one that needs constant attention, which is why getting the basics right from the start matters.
This guide approaches sandpits as a practical, long-term addition to the backyard. It explores site selection, construction methods, material choices, drainage, hygiene, and safety in the context of everyday use. The focus is on building a sandpit that holds up to weather, regular play, routine cleaning, and changing family needs, so it remains easy to live with year after year.
Why Sandpits Make Sense
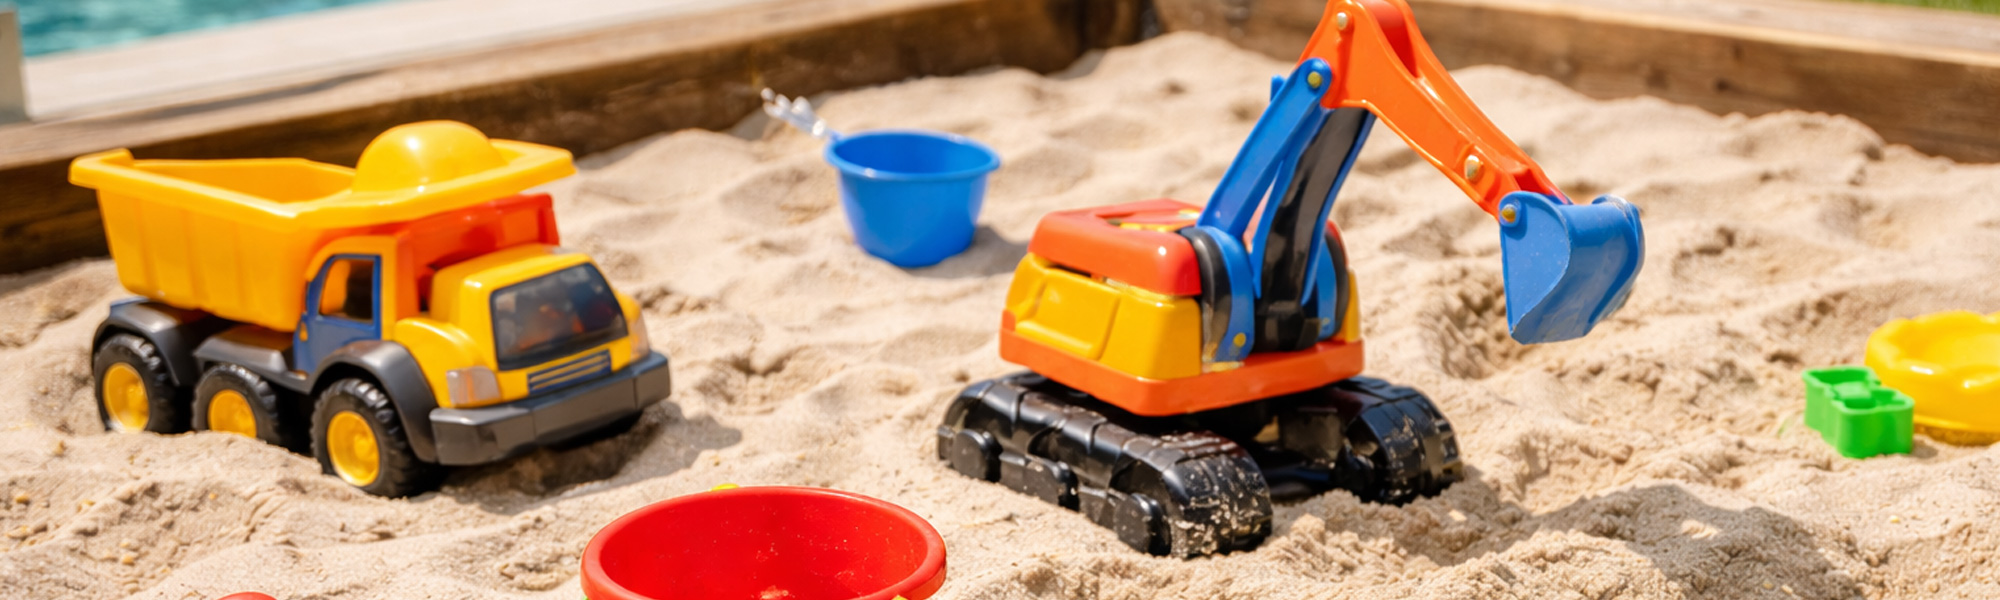
Despite the growth of elaborate play equipment, sandpits remain one of the most developmentally flexible outdoor play elements available. They encourage digging, shaping, pouring, carrying, and cooperative play in ways that fixed equipment cannot. A sandpit does not dictate how it must be used. It adapts to the child, the day, and the imagination involved.
From a design perspective, sandpits also integrate more quietly into yards than most play structures. They sit low, do not dominate sightlines, and can be framed to match landscaping rather than competing with it. This makes them particularly suitable for suburban backyards where space, neighbours, and visual order matter.
The key is accepting that a sandpit is a small construction project, not a toy. Once that mindset is adopted, the decisions that follow tend to produce better outcomes.
Choosing the Right Location in the Yard
Location is the single most important decision in sandpit design, and the one most commonly rushed. A poorly located sandpit will struggle with drainage, contamination, heat exposure, or supervision issues regardless of how well it is built.
A good sandpit location balances sunlight and shade. Full shade all day encourages dampness and organic growth. Full sun all day makes sand uncomfortably hot and accelerates degradation of timber edges and covers. The ideal placement receives morning sun and afternoon shade, either from trees, buildings, or shade structures that can be added later if needed.
Ground conditions matter more than most people realise. A sandpit placed in a natural low point of the yard will collect water during rain events, even if it appears dry most of the year. That water has nowhere to go once sand is installed. Slightly elevated ground, or ground that can be built up and levelled, is far more forgiving.
Visibility from the house should be considered carefully. Sandpits are often used for long, quiet play periods. Being able to supervise casually through a window or from a nearby outdoor area makes them more likely to be used regularly and safely.
Ground Preparation and Drainage Fundamentals
Drainage is the difference between a sandpit that stays clean and usable and one that becomes a soggy liability. Sand alone does not guarantee drainage. In fact, fine sand can hold water if it sits on an impermeable base.
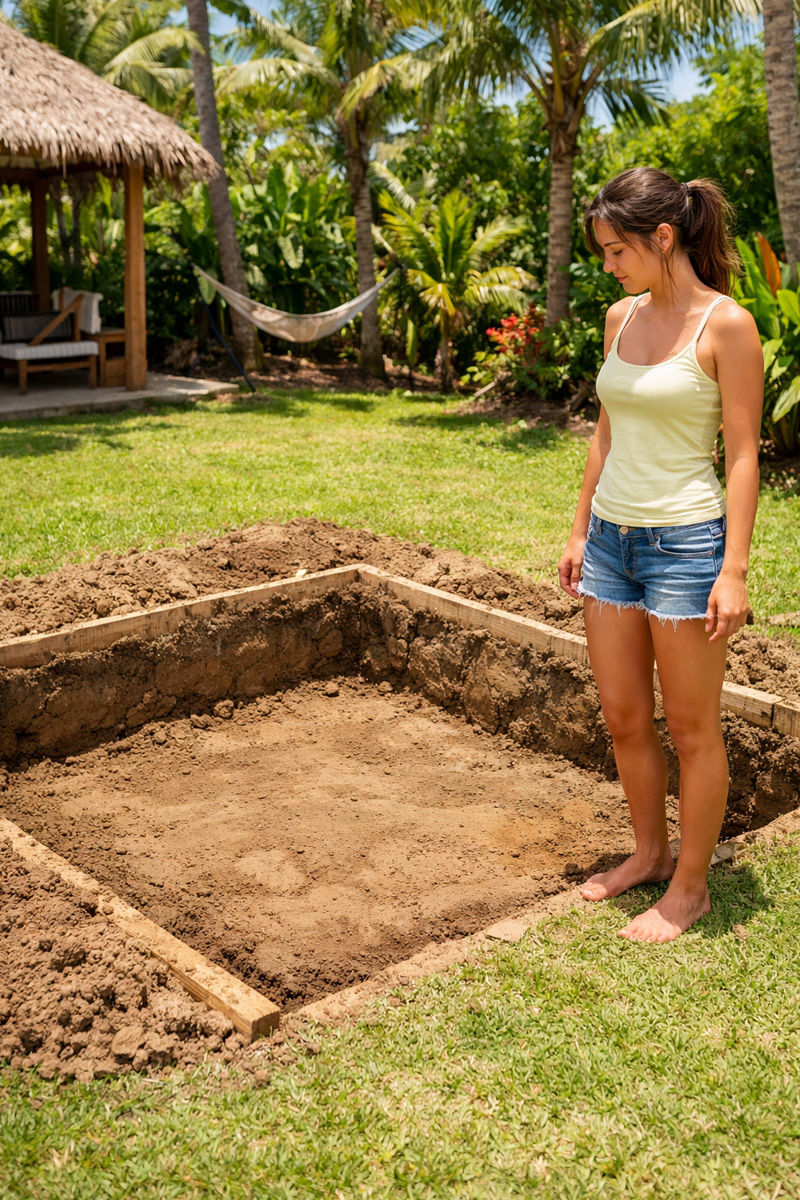
Excavation depth should allow for a drainage layer beneath the sand. This typically means removing soil to a depth that accommodates compacted base material, a geotextile layer, and the sand itself. Skipping this step often results in water pooling at the base of the pit.
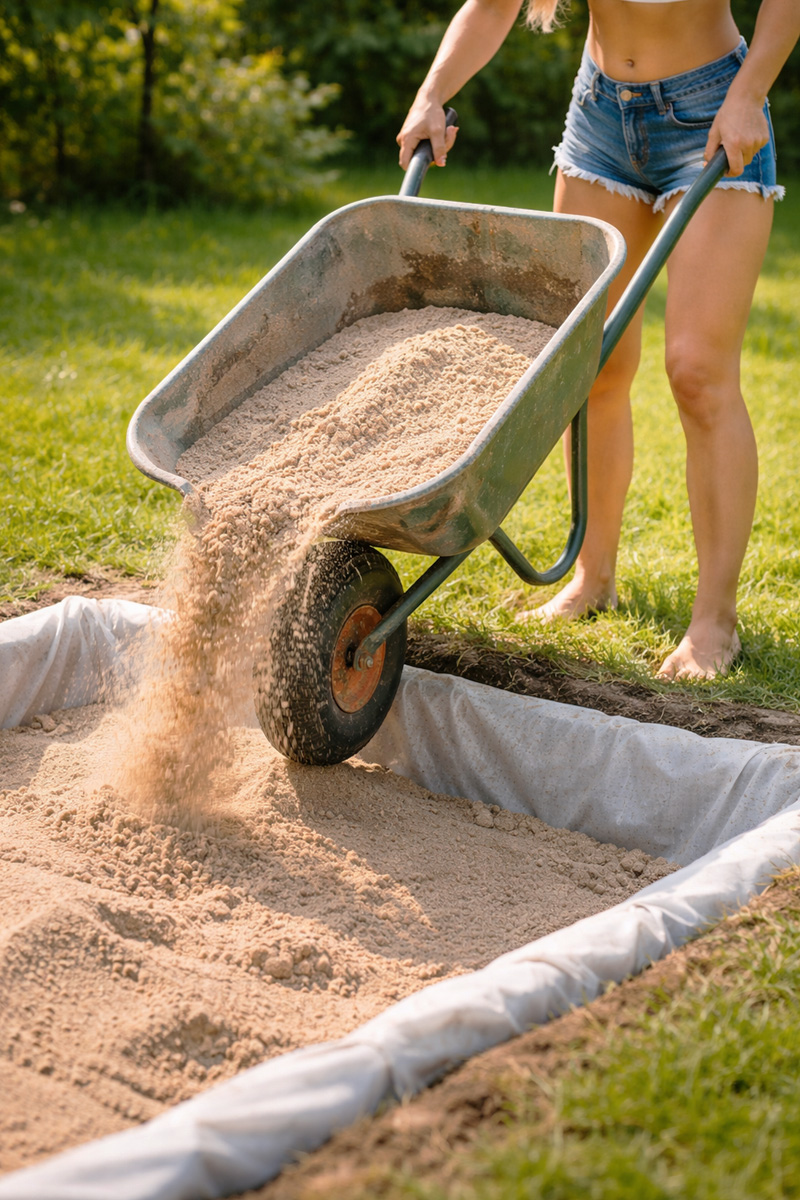
A compacted layer of crushed rock or road base beneath the sand allows water to move away from the play surface. This layer does not need to be thick, but it must be level and properly compacted. Above this, a quality geotextile fabric prevents sand from migrating into the base while still allowing water to pass through.
In areas with heavy rainfall or clay soils, drainage becomes even more critical. In these conditions, some builders choose to slightly raise the sandpit above surrounding ground level rather than excavating deeply. This approach reduces water ingress and simplifies long-term maintenance.
Framed vs In-Ground Sandpits
Sandpits broadly fall into two categories: framed sandpits that sit above or partly above ground, and fully in-ground sandpits that are flush with the surrounding surface. Each has advantages and trade-offs.
Framed sandpits are easier to build, easier to modify, and easier to remove in the future. The frame defines the space clearly and helps contain sand during active play. They also allow for integrated seating edges, which can be useful for both children and supervising adults.
In-ground sandpits blend more naturally into landscaping and can feel more expansive, but they require more careful drainage design and edge detailing. Without a raised edge, sand migration into surrounding areas is more likely. Edges must be firm enough to prevent collapse and erosion over time.
For most residential backyards, a low-profile framed sandpit provides the best balance between usability and control.
Timber Selection and Structural Design
Timber-framed sandpits are common, but not all timber is suitable for ground contact and repeated moisture exposure. Untreated pine, while inexpensive, has a limited lifespan in outdoor conditions. If used, it should be isolated from direct soil contact and expected to require replacement sooner.
Treated pine rated for ground contact performs significantly better, provided it is cut and sealed correctly. Hardwoods offer excellent durability but come with higher cost and weight considerations. Composite materials are sometimes used but can retain heat and lack the forgiving edges that timber provides.
Structural design should prioritise stability and simplicity. Corners should be properly fixed, not just butt-joined. Frames should resist outward pressure from sand, especially in larger pits. Overengineering slightly is preferable to dealing with spreading or warping later.
Edges should be wide enough to sit on comfortably without encouraging climbing behaviour that could lead to falls. Rounded or chamfered edges reduce the chance of splinters and injuries over time.
Sandpit Size, Depth, and How Long It Remains Useful
Sandpit size has less to do with yard scale and more to do with how the space will be used over time. Very small sandpits tend to compact quickly, limit digging depth, and become single-child spaces sooner than parents expect. A slightly larger footprint allows sand to stay looser for longer, supports shared play, and adapts better as children grow. Even when only one child is using the sandpit initially, extra space reduces wear patterns and extends the useful life of the sand without increasing maintenance demands.
Depth matters just as much as surface area. Shallow sand looks tidy but loses play value quickly as it packs down. A deeper sand layer allows digging, shaping, and displacement without exposing the base, which keeps the sand behaving properly and drying evenly. From a long-term perspective, a sandpit that feels generous at the beginning tends to remain engaging for years, while one built to the minimum often feels obsolete far sooner than expected.
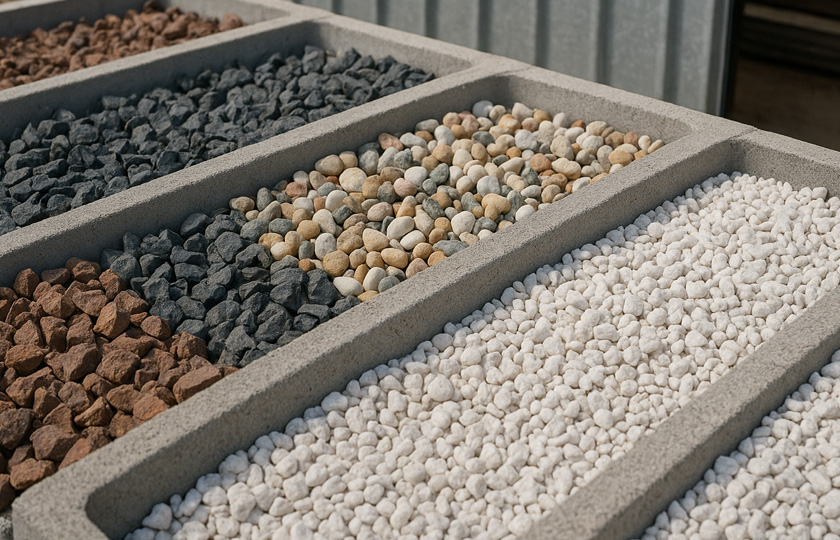
Sand Type and Quality Considerations
Not all sand is suitable for play. Builder's sand, crusher dust, and fine masonry sands are inappropriate due to contaminants, compaction behaviour, or particle sharpness.
Play sand should be washed, screened, and graded for consistent particle size. It should drain well without becoming dusty when dry or sticky when wet. Quality play sand supports digging and shaping without collapsing immediately.
The amount of sand required is often underestimated. A shallow layer becomes hard-packed quickly and limits play value. Deeper sand allows for excavation, tunnelling, and more varied play, but it must be supported by proper drainage and containment.
Overfilling is also a common mistake. Sand should sit below the top edge of the frame to reduce spillage and make covering easier.
Covers and Contamination Control
A sandpit without a cover is a short-lived asset. Animals, falling leaves, and moisture quickly degrade sand quality if it is left exposed.
Covers should be easy to remove and replace. If a cover is awkward or heavy, it will be used less often. Rigid covers provide excellent protection but must be designed to avoid water pooling. Flexible covers need proper anchoring to prevent them becoming windblown or collecting debris.
Breathability is important. A fully sealed cover can trap moisture beneath it, leading to mould or odours. Many effective designs allow air movement while still preventing access.
Regular inspection and occasional raking help keep sand clean. Replacing a portion of sand periodically is normal and should be expected as part of ownership.
Safety and Age-Appropriate Design
Sandpits are generally low-risk play environments, but design choices still matter. Depth should be appropriate for the age group using the pit. Very deep sand can create instability for toddlers, while shallow pits limit older children's engagement.
Edges should not present trip hazards, especially when placed near walkways or lawns. If the sandpit is raised, transitions to surrounding surfaces should be clear and deliberate.
Supervision considerations include sightlines and proximity to other play elements. A sandpit placed too close to swings, climbing frames, or ball play areas can create conflict between activities.
Tools and accessories such as buckets, spades, and moulds should be stored nearby but not inside the sandpit itself to reduce clutter and contamination.
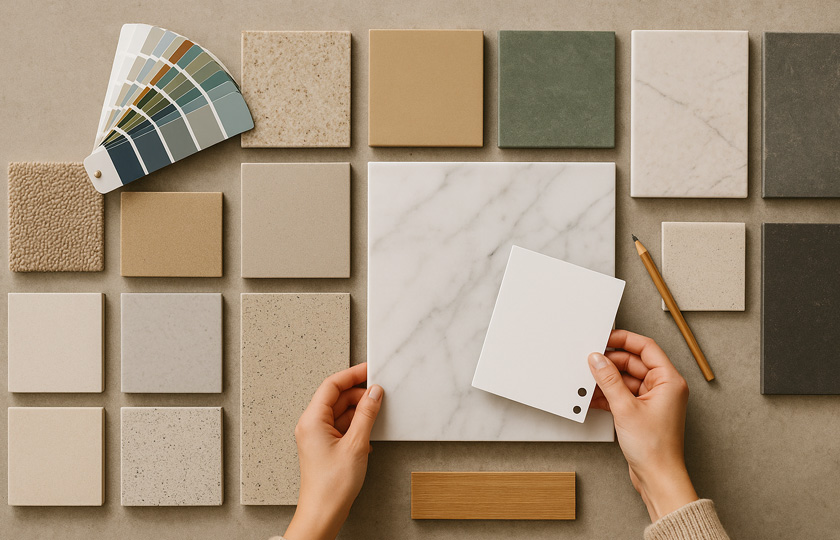
Integrating Sandpits Into Landscaping
A well-designed sandpit does not look like an afterthought. Framing materials, surrounding surfaces, and nearby planting all influence how the sandpit feels within the yard.
Soft ground covers, decking, or compacted gravel around the pit help manage sand migration. Hard paving directly adjacent to a sandpit often becomes slippery and messy.
Planting should be chosen carefully. Trees that drop leaves, flowers, or fruit directly into the sandpit increase maintenance. Thorny or irritant plants should be avoided altogether.
Shade structures, whether natural or built, extend usability and protect both users and materials from harsh conditions.
Maintenance and Long-Term Care
Sandpits require ongoing but manageable maintenance. Regular raking keeps sand loose and discourages compaction. Spot removal of debris prevents it breaking down into the sand.
After heavy rain, covers should be removed temporarily to allow drying if conditions permit. Ignoring moisture issues is the fastest way to shorten the life of the sandpit.
Timber edges should be inspected periodically for movement, cracking, or surface wear. Minor repairs early prevent larger failures later.
Eventually, most sandpits reach a point where sand replacement or structural refresh makes sense. Designing with this in mind from the start makes these moments far less disruptive.
Sand Hygiene and Replacement Expectations

Parents are often surprised to learn that sandpits do not require regular sand replacement for hygiene reasons. Clean play sand does not become unhygienic through normal use when it drains properly, dries between uses, and is kept free of organic debris. If sand remains hygienic in environments where it is constantly disturbed, dried, and reused, then a well-managed home sandpit with limited users is operating well within safe, practical limits.
Even at the most extreme end of use, sand remains hygienic when it is managed properly. School long jump pits are a real-world example every parent recognises, seeing extremely heavy use and being used barefoot by large numbers of students. Even with thousands of bare feet repeatedly entering the sand over many years, microscopic skin particles are dispersed, broken down, and carried away through constant movement, drying, and drainage, which is why the sand is maintained through raking and topping up rather than routine replacement. If sand remains clean under those conditions, parents can be confident that a free-draining backyard sandpit with light use can be regarded as exceptionally clean.
Managing Sand Spread and Everyday Mess
All sandpits shed some sand. That movement is normal and does not indicate poor design, but it can be controlled. The most effective mitigation comes from edge detailing and surrounding surfaces. A defined frame helps contain active play, while adjacent grass, decking, or compacted ground surfaces naturally capture loose sand before it travels further. Hard paving directly against a sandpit tends to exaggerate mess by making sand more visible and harder to remove.
Dry sand does not stick to skin, so it spreads far less than damp sand. When rain or water play leaves sand wet, allowing it to dry out again before regular use means most sand falls back into the pit instead of being carried around the yard. Brushing off or drying feet after playing with water nearby further reduces how much sand travels. Keeping sand dry whenever possible is one of the simplest ways to limit everyday mess.
Routine behaviour matters more than constant cleaning. Occasional raking back into the pit, brushing surrounding areas, and accepting minor migration as part of outdoor play keeps the task low-effort. Sand that leaves the pit usually does so gradually and predictably, not explosively. When parents plan for that movement rather than trying to eliminate it entirely, sandpits remain easy to live with and rarely become the maintenance issue people fear at the outset.
When to Remove or Repurpose a Sandpit
Children's play needs change over time, and sandpits are not permanent fixtures. One of their strengths is that they can be removed or repurposed relatively easily if they are not overbuilt.
Framed sandpits can be converted into garden beds, storage areas, or seating zones with minimal modification. In-ground sandpits may require more effort but can still be reclaimed with planning.
Knowing that removal is straightforward often makes parents more comfortable committing to building a sandpit in the first place.
Building With Confidence
A sandpit does not need to be complicated to be successful, but it does need to be intentional. Thoughtful placement, proper ground preparation, quality materials, and realistic maintenance expectations turn a simple concept into a long-lasting play space.
When built well, sandpits quietly earn their place in the yard. They are used often, adapt to different ages, and ask very little in return. That balance is what makes them one of the most enduring backyard features available.
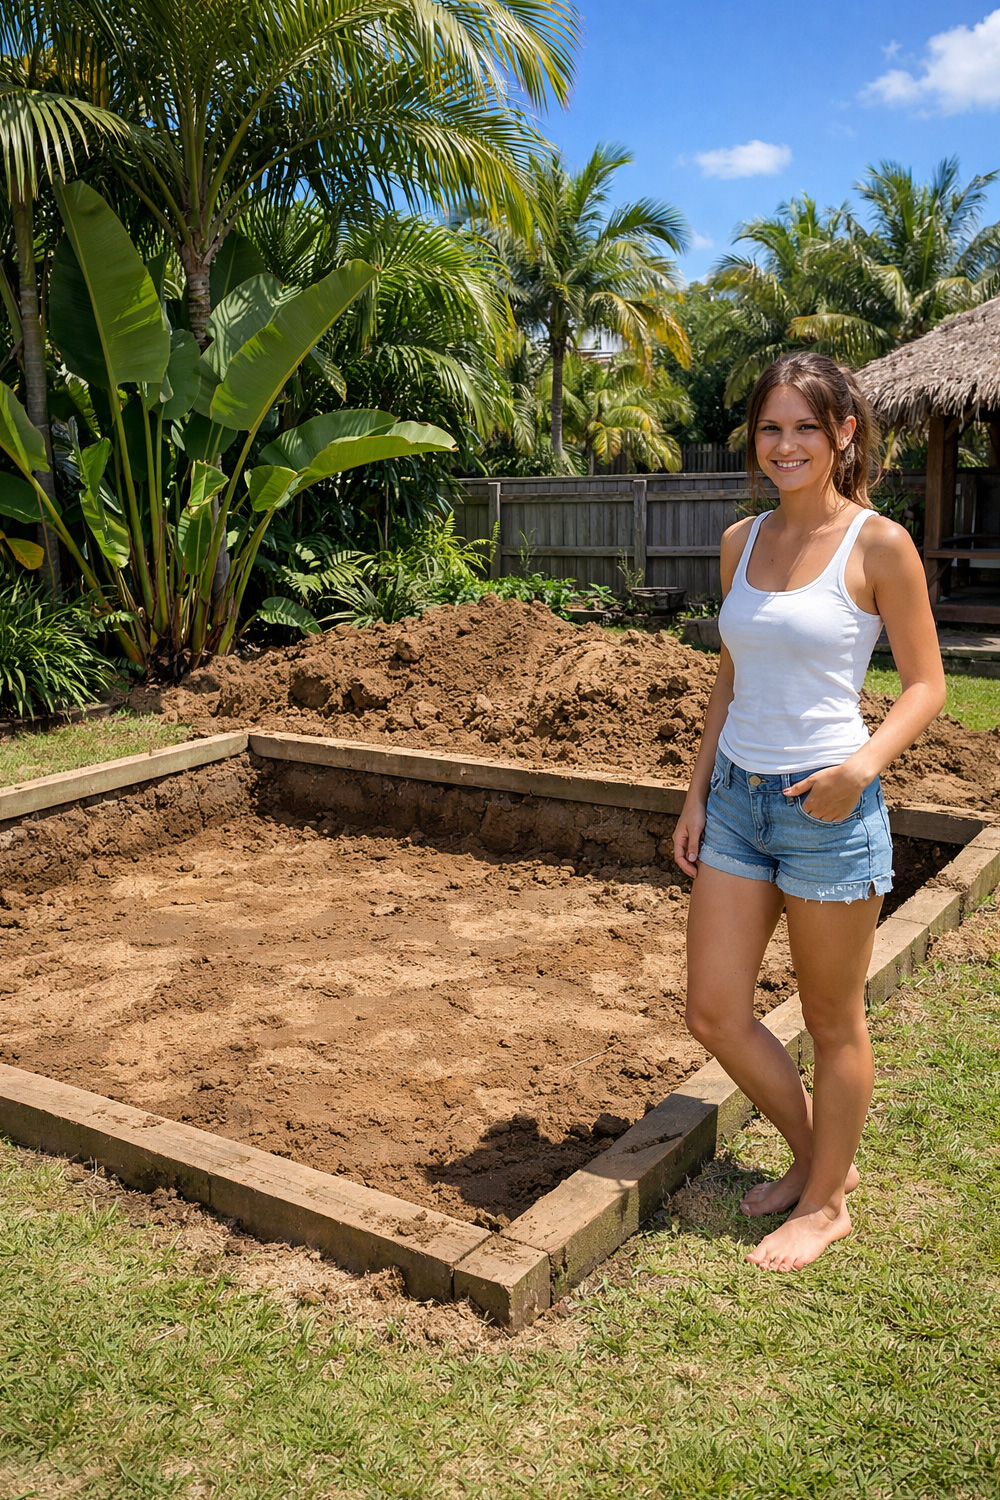
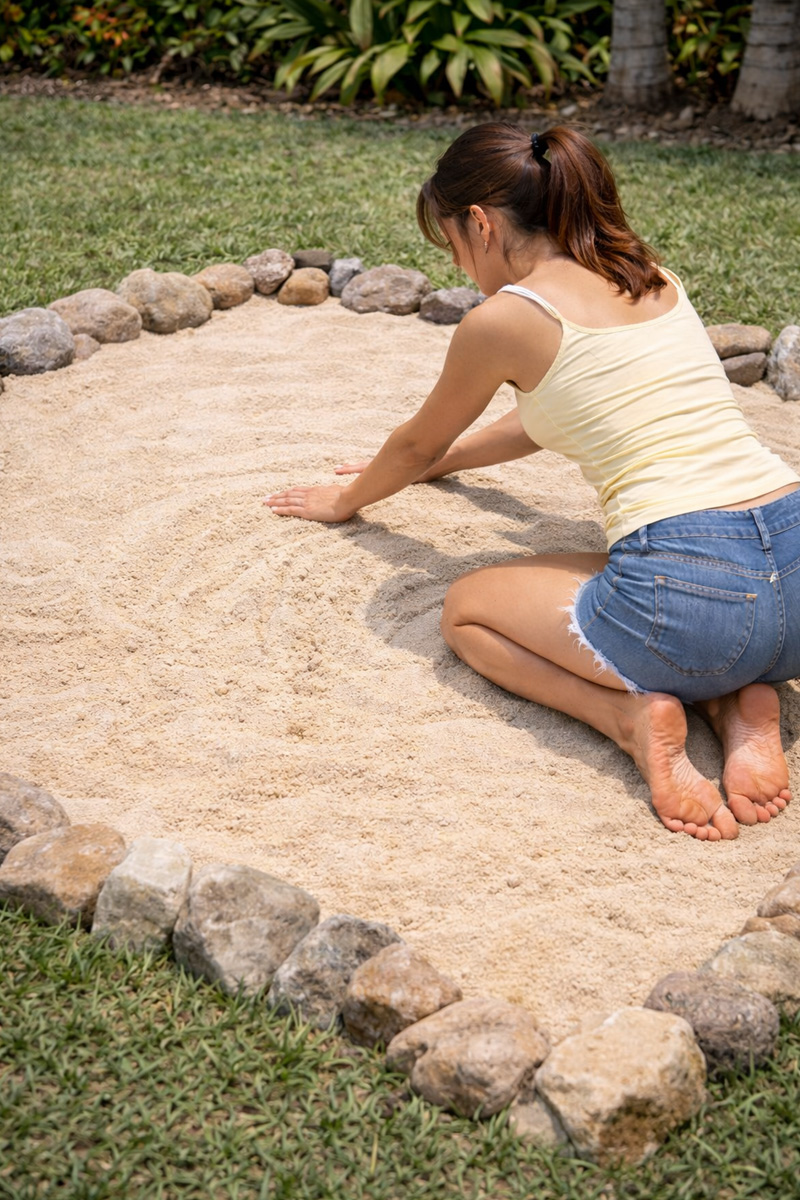
Step-by-Step Sandpit Installation
Installing a backyard sandpit is a simple, satisfying project that comes together quickly when approached in a logical sequence. Choosing a good location, preparing a solid base, and finishing with an even fill helps the sandpit settle naturally into the yard and feel like it belongs there from day one.
The steps below are about setting things up so the sandpit works effortlessly over time. Good drainage, a clean base, and a well-defined edge mean the sand stays where it should, the surface stays pleasant to use, and ongoing maintenance stays minimal without needing constant attention.
The only part that tends to surprise people is how much sand a sandpit comfortably holds. Once filling begins, the volume becomes obvious, and allowing enough time for this stage makes the final result feel generous, level, and ready to use straight away.

Pest Control Around Sandpits
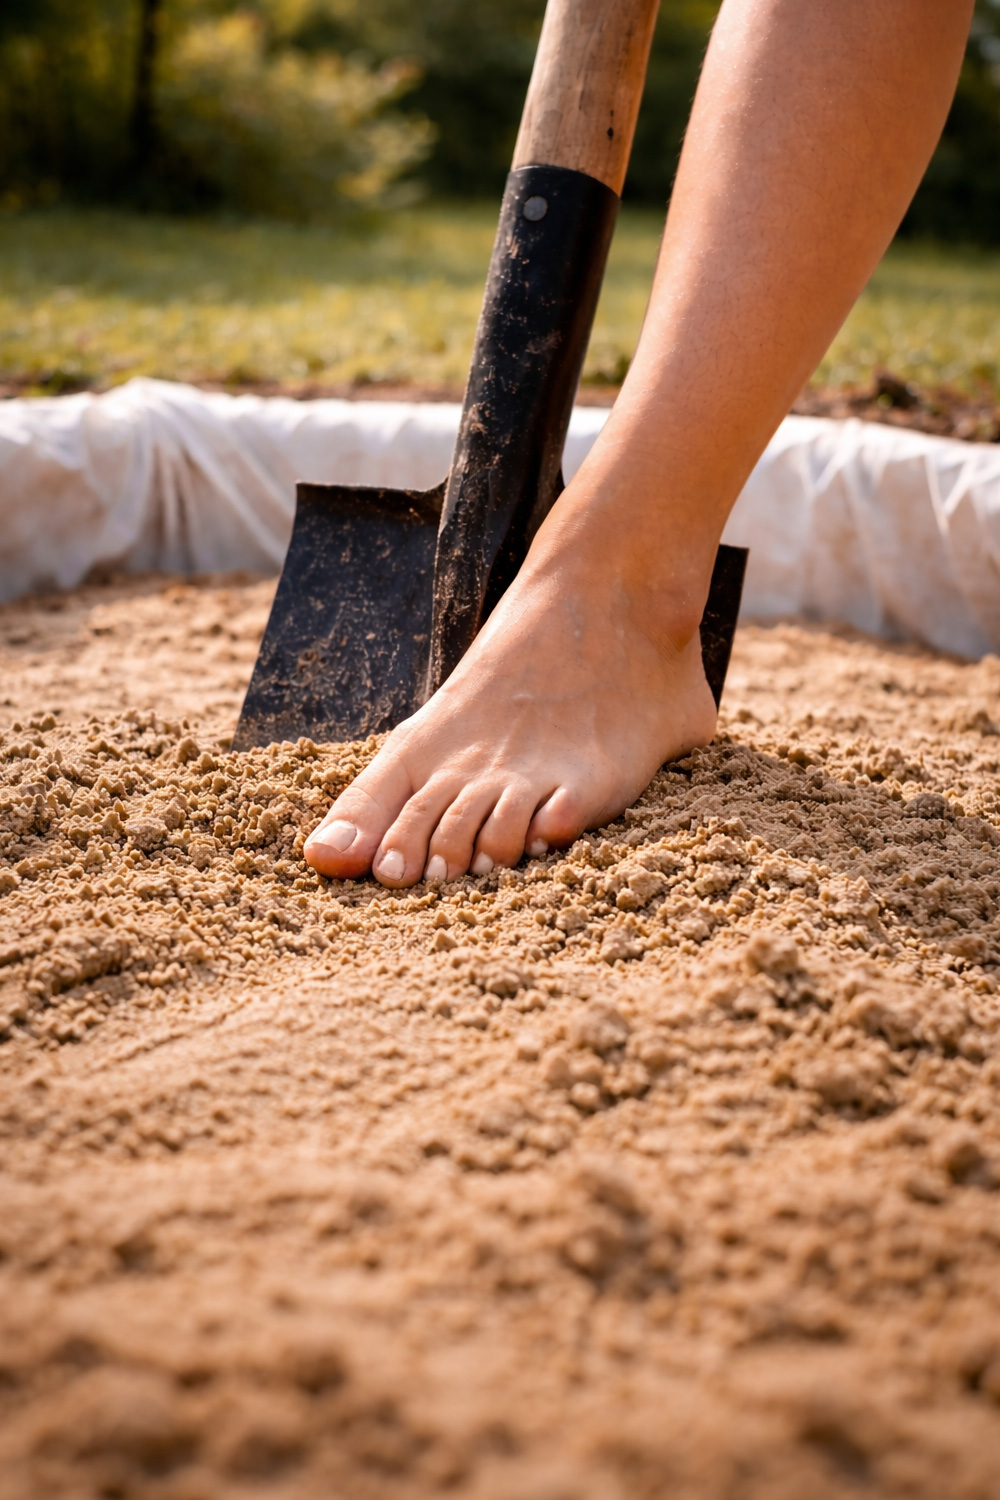
Pest control around a sandpit comes with its own set of challenges, mainly because sand behaves very differently to hard ground. Ants, cockroaches, and similar insects can move quickly through loose sand, and when disturbed they tend to drop or burrow rather than stay on the surface. If you try to deal with them the same way you would on concrete or pavers, you will often miss them entirely. Stepping directly onto insects on sand is less effective because they simply sink away from pressure, slipping between grains before your foot ever reaches them.
If you need to deal with an insect while it is on the sand, the most reliable method is to create a firm surface first. Slide a flat object such as a small shovel, spade, or piece of timber underneath the insect to stop it sinking away. You can then place your foot on top of that surface and apply pressure using the ball of your foot or your heel, which transfers force properly and prevents escape into the sand. A short twisting motion helps finish the job, with the sand providing additional resistance to break the insect down fully. This approach is quick, controlled, and limits disturbance to the surrounding area of the pit.
With a solid surface beneath the sand, this approach is straightforward for adults and teenagers. Normal body weight, combined with tough, leathery soles grinding the insect against the sand, breaks it down quickly. The result is a quick process that avoids chasing insects through loose material or disturbing a larger area of the pit.
Another practical option is simple removal. Catch the insect in a bag, seal it, and take it away from the sandpit to a hard surface like concrete or paving. Put the bag flat on the ground and tread it with your feet or stomp on it firmly to kill the insect, then dispose of it. Doing it this way avoids the insect slipping into the sand, keeps the sandpit clean, and stops you having to chase the same pest through loose material or stir up the pit unnecessarily.
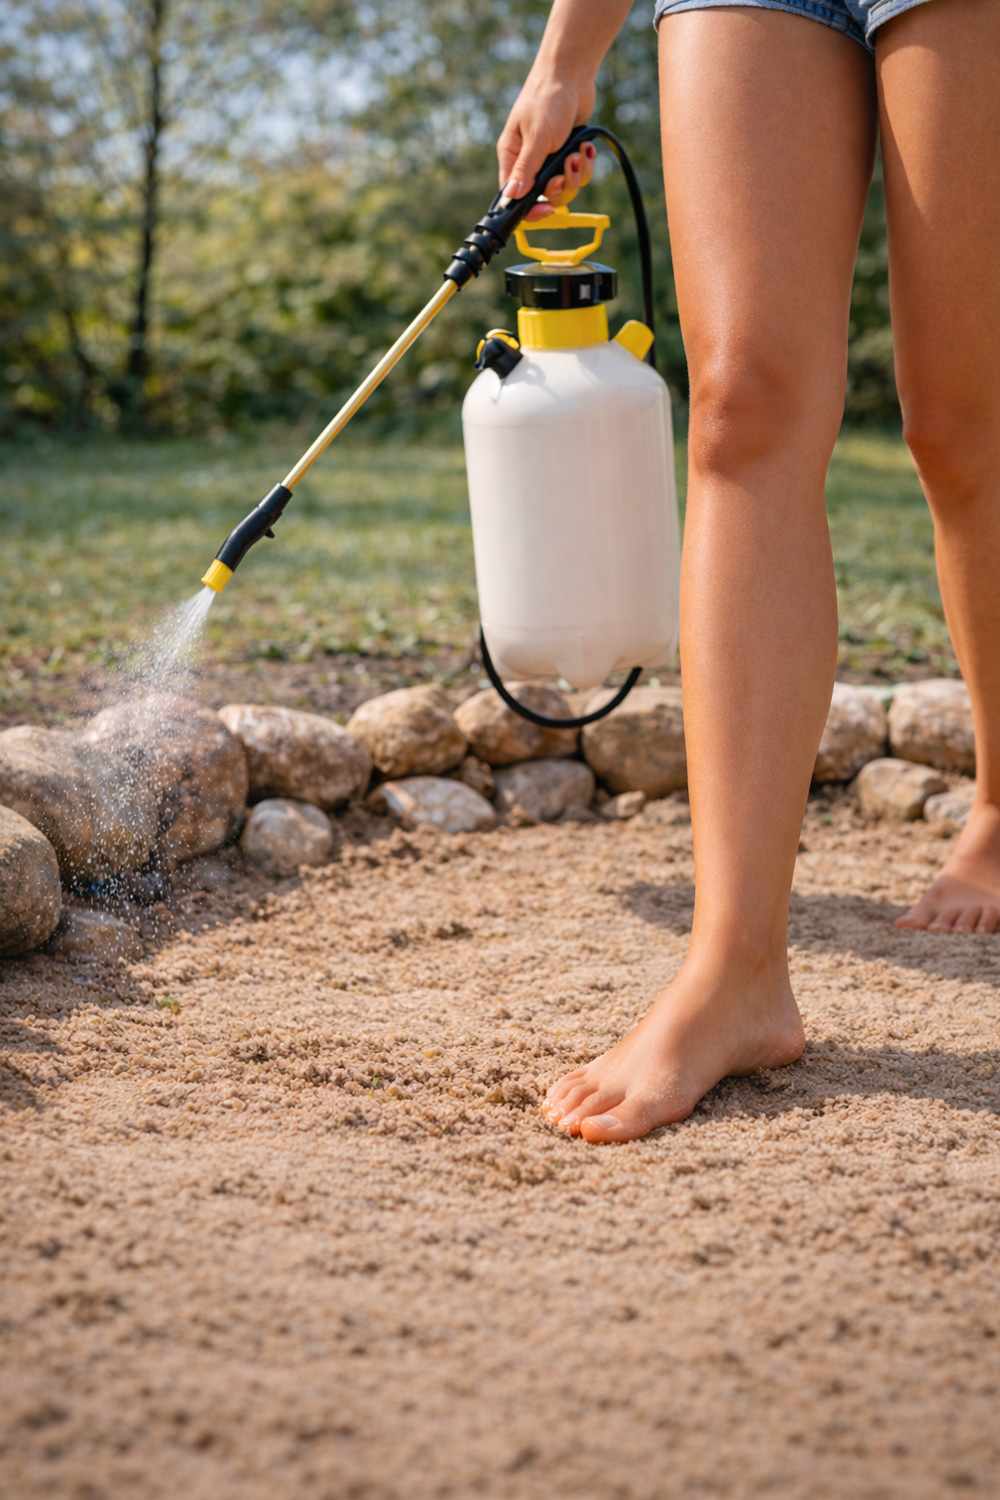
Sprays also have a role when used appropriately. Applying an insect spray directly onto pests sitting on the sand can be effective, especially for fast-moving insects that are difficult to catch. In addition, treating the perimeter of the sandpit is often more effective than treating the sand itself. Spraying a surface spray along the edging, borders, and surrounding ground helps create a barrier that discourages insects from entering the pit in the first place, reducing how often you need to intervene at all.
Set a clear rule for children using the sandpit: if they see an insect, they get out immediately and tell an adult, so the adult can step on it or spray it. This keeps reactions calm, avoids insects disappearing into the sand, and prevents kids trying to handle pests themselves.
This guide provides general information only and does not take the place of site-specific assessment or professional advice. Ground conditions, drainage, materials, and local requirements can vary, so always consider your own property circumstances and follow manufacturer instructions, council guidance, and relevant safety standards when building or modifying a sandpit.
You might also like


Disclaimer: Every effort has been made to ensure the accuracy of the information provided, but we make no guarantees regarding its completeness or reliability. The data is presented for general informational purposes only and does not constitute financial, investment, or legal advice. We are not liable for any errors, omissions, or consequences arising from its use. Users should verify details with relevant sources and seek professional advice where appropriate for the most accurate and up-to-date guidance.