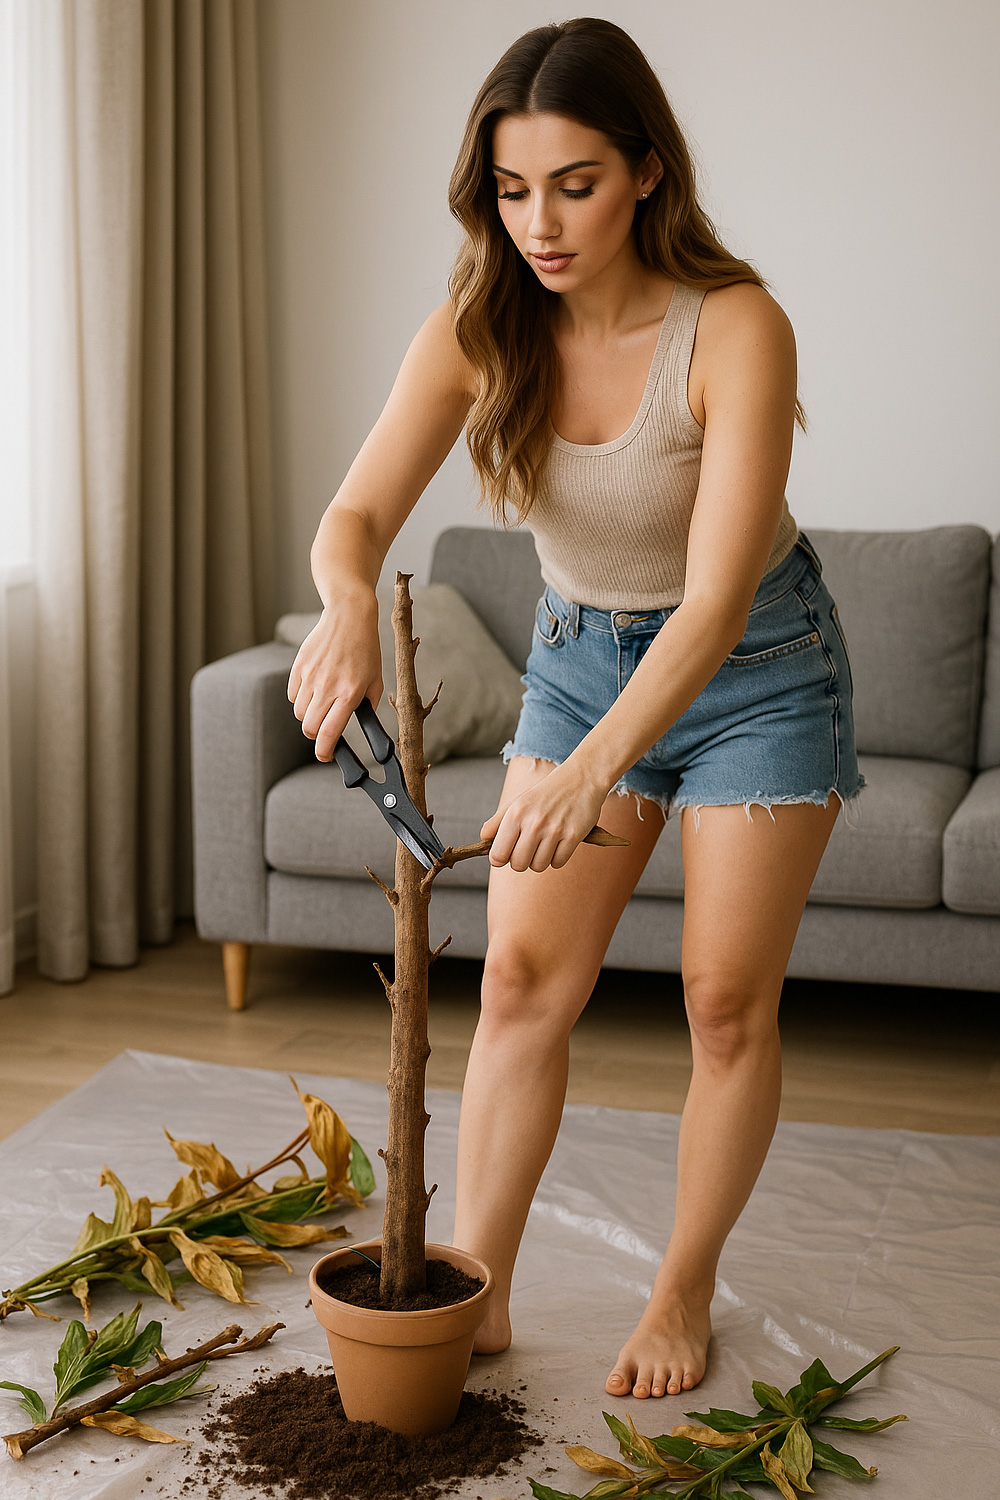
Indoor plants rarely fail all at once. They decline in stages, slowly losing their colour, their firmness and their shape until they reach a point where the soil stays wet for too long, the stems no longer support anything and the pot itself begins to stain or weaken. Most households let these fading plants linger in corners because it feels easier to ignore them than to work out what to do next. But a dead plant is not just a decorative loss. It becomes a disposal task with several moving parts: the soil, the roots, the container and the debris that comes loose as you start taking it apart.
Disposing of these old plants properly is surprisingly smooth once you understand how each component behaves when you touch it, lift it and break it down. The job becomes cleaner, the weight becomes more manageable and you stop struggling with bulky shapes that never seem to fit into a bin. The goal is to reduce everything into predictable, easily handled pieces so the disposal step feels like closing a small chapter rather than dealing with a mess that soils your hands and clogs your bins.
Understanding the State of the Plant Before You Begin
A dead plant gives you clues long before you touch it. Stems show a hollow dryness, leaves crumble at a brush of your fingers and the soil behaves like a compacted block rather than a loose, living medium. When you lift the pot, you often hear a faint shifting sound where the root system has dried and shrunk away from the sides. These cues tell you how responsive the plant will be when you try to remove it and whether the root ball will slide out cleanly or break apart the moment you apply pressure.
The feel of the soil matters. Old potting mix that has dried completely tends to hold its shape when tipped from the pot. If it has stayed damp for too long, it slumps forward as a heavy mass. Knowing this helps you brace properly and prepare for the direction of movement. When the roots are fully gone, the soil separates easily. When they are still clinging, everything comes out as one dense shape. Either version is fine as long as you expect it.
Being Careful Around Soil-Borne Pathogens
Old potting mix is more than just spent soil. Once a plant has died, especially from rot or prolonged moisture issues, the mix can harbour soil-borne pathogens that remain active long after the plant itself has collapsed. These include fungi, moulds and bacteria that thrive in decomposing organic matter. When the soil is disturbed, the finest particles lift first, and those particles are precisely where these organisms concentrate. If inhaled, they can pose genuine risks to human health, particularly for anyone with asthma, allergies or reduced immunity.
For this reason, the safest approach is to work outdoors or in a well-ventilated space so any dust disperses quickly. A dust mask is always recommended but especially so when the potting mix is dry enough to crumble, as this is when airborne particles become most easily inhaled. Keep the pot low to the ground, tip it gently and avoid abrupt shaking or squeezing that forces dust upward. Allow the soil to drop naturally into the bag, then step back for a moment before sealing it. Washing your hands afterward completes the process and keeps those bacteria and spores from transferring to tools, surfaces or other plants. These simple precautions maintain a clean, controlled environment and protect your health while you finish the disposal task.
Freeing the Root Ball From the Pot
The most common frustration is the moment you turn the pot upside down and nothing budges. Indoor pots cling tightly after years of mineral build-up, and older plastic pots sometimes warp slightly, locking everything inside. Tapping the sides with your palm or pressing with your feet helps, but the real shift comes from applying pressure at the base. The goal is to loosen the seal between the soil and the pot so gravity can do its work.
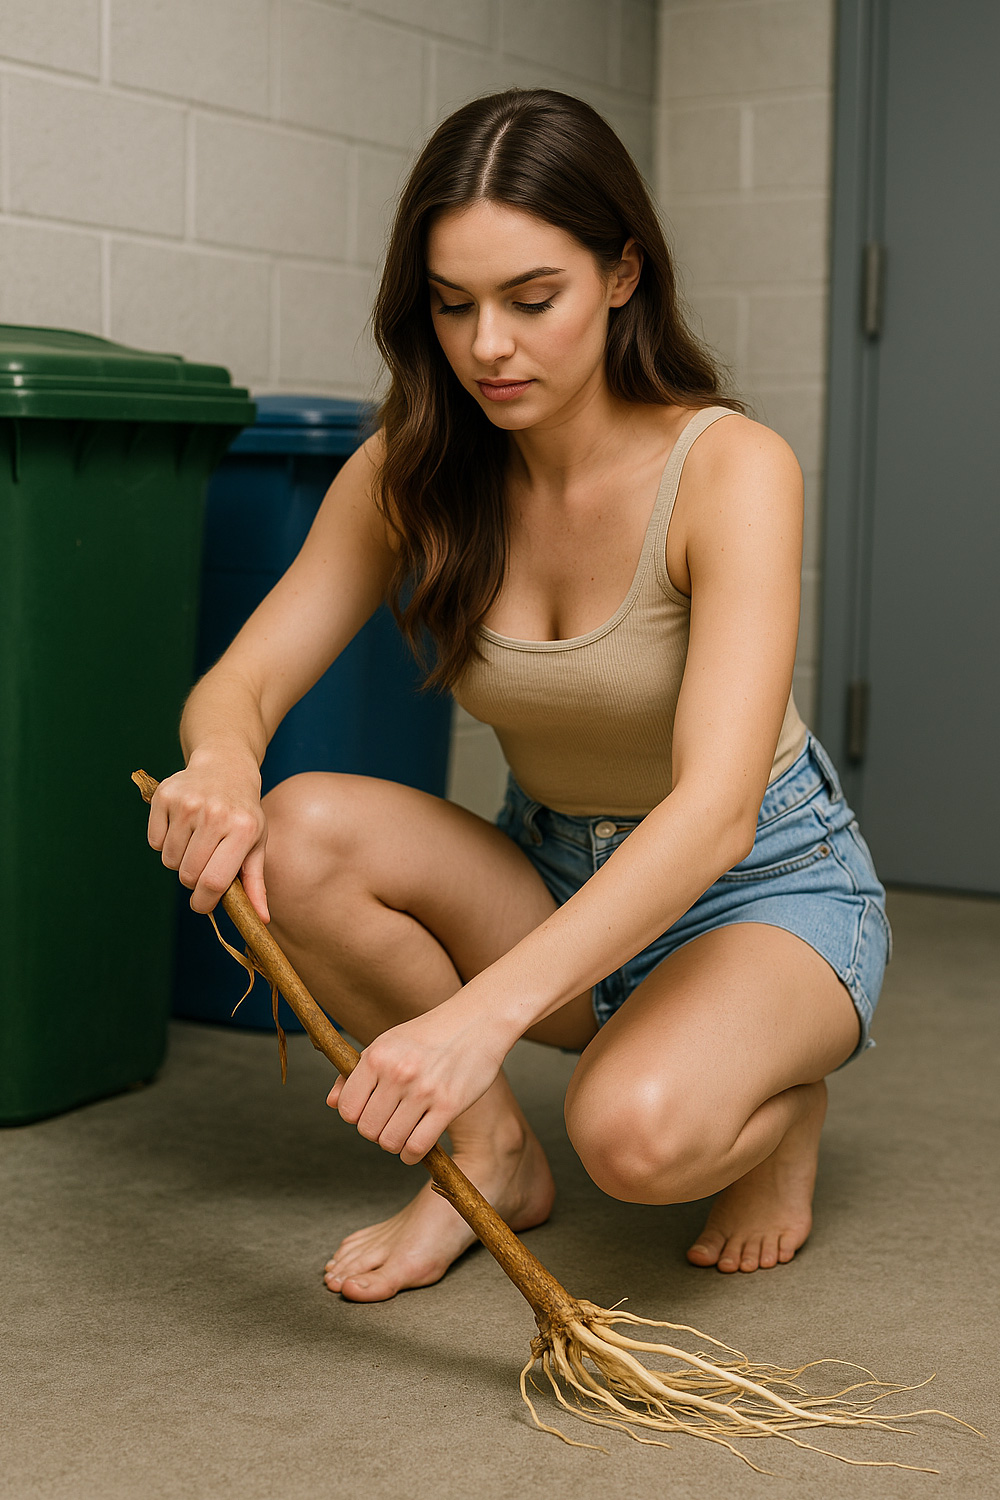
Once the plant comes free, it will usually emerge in one of two states: a single mass that holds its shape or a crumbling block that collapses as soon as you tilt it. In either case, the next step is the same. You need to break the soil down into smaller portions so it becomes manageable. A gentle squeeze along the sides often cracks the mass apart. Larger root systems need a firmer push so the central core separates into sections. The texture is dry, fibrous and earthy, and once it breaks into chunks it is far easier to lift, move and dispose of properly.
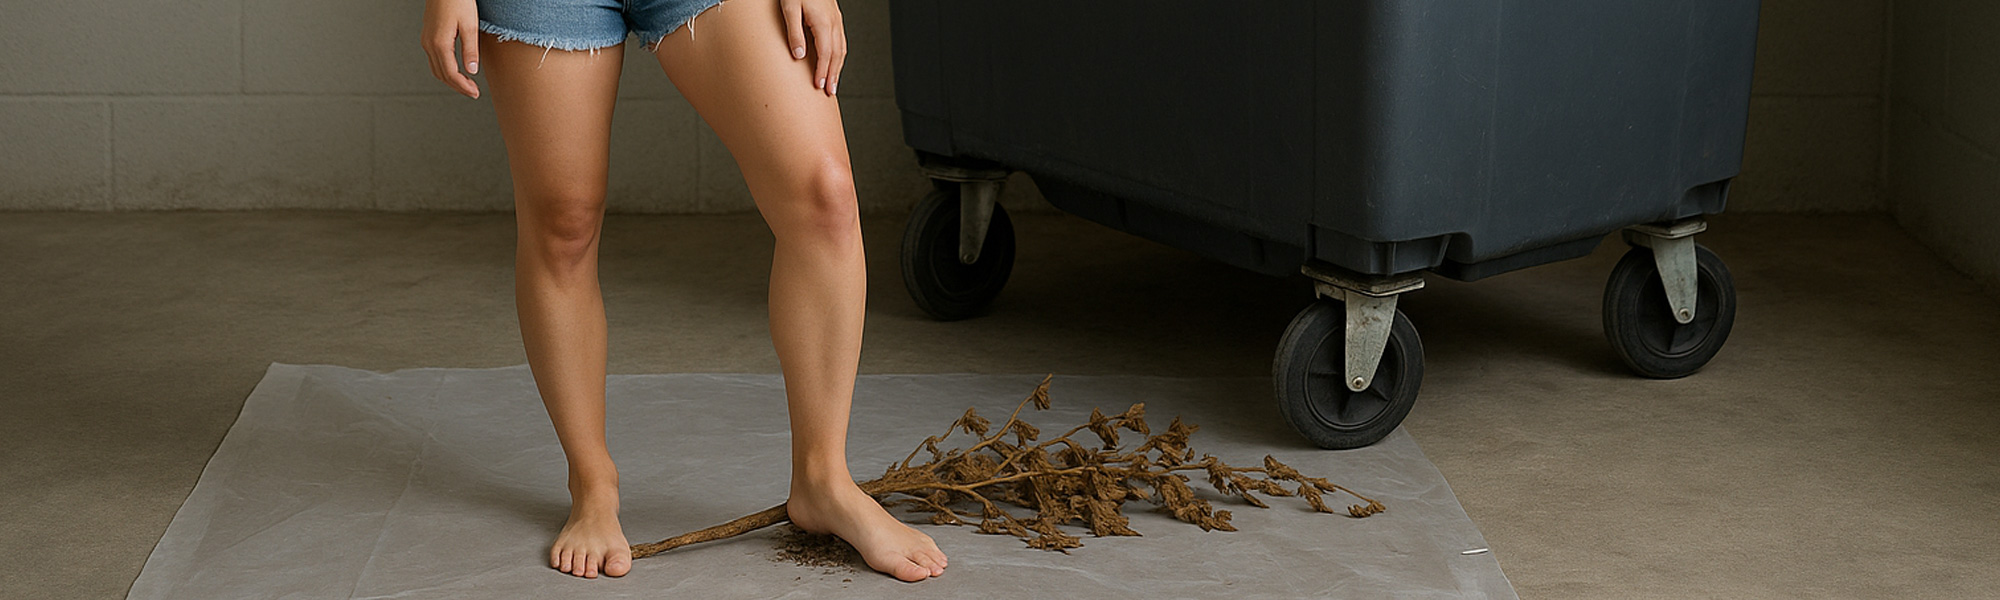
Rinsing a dead plant's root ball outside in a garden bed is the safest way to remove compacted soil without sending fine particles into your pipes. A quick hose-down exposes the main roots so you can detach the stem cleanly. Most dry stems bend when held down with the feet while bent with the hands. This leaves you with tidy, manageable pieces ready for disposal.
Breaking Down the Soil and Roots for Disposal
Indoor soil carries a lot of weight once it is compacted. The trick is to reduce the mass before trying to bag it. Instead of tipping everything straight into a bin, you crumble the soil by hand so it becomes lighter and freer-flowing. This makes it easier to portion. If there are still sections where the roots cling together, pressing down gently with your palm breaks the structure apart without sending dust everywhere.
The root system itself dries into a wiry mat that responds well to pressure. You can press it flat so it loses its spring and fits neatly into a bag. Once flattened, it behaves almost like light garden debris. The key is not to forcefully tear it but to compress it so it becomes predictable. A single compressive motion usually removes the last sense of bulk.
Handling Pots That Have Decayed or Cracked
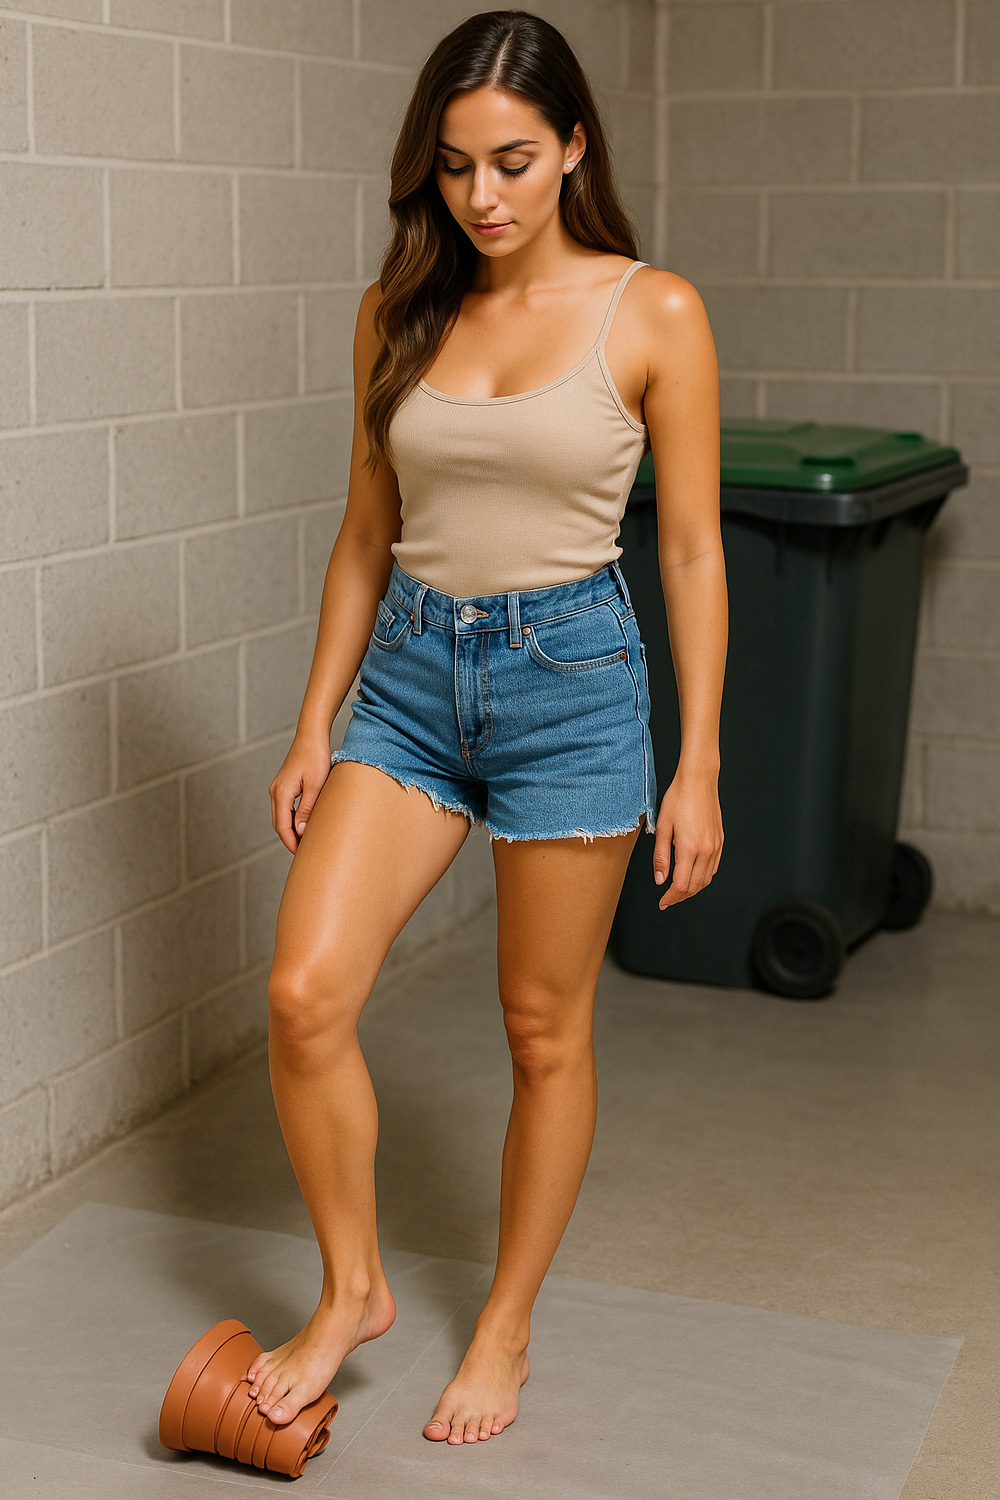
The pot can be the easiest or hardest part depending on its material. Old plastic pots soften and deform after long use, especially when they have gone through repeated wet and dry cycles. When you squeeze the rim, you can feel a slight give that tells you how fragile it has become. If the pot cracks as you remove the plant, that is not a failure of technique; it is a sign that the plastic structure has reached its end. These pieces should be broken down further before disposal so sharp edges do not protrude through the bag.
Ceramic pots behave differently. The glaze begins to craze and the surface may flake slightly. Once cracked, ceramic splits cleanly but sharply, so the safest approach is to wrap a towel or thick cloth around it before applying pressure to break it into disposable pieces. You control the break rather than letting it shear unpredictably. Each segment becomes much easier to contain and bag. To smash up a ceramic pot safely, place it inside a sturdy bag or wrap it securely in a folded towel on a firm surface. Hold the bundle steady with one hand and deliver a single, decisive downward press with your other hand or a controlled tap using a solid object. The padding absorbs the impact and traps the shards, allowing the pot to fracture cleanly without scattering. Continue applying firm, targeted pressure to reduce the pieces to manageable sizes. When finished, lift the towel or bag carefully so no sharp edges escape, then move the contained fragments directly into the bin.
There are also times when a worn plastic pot is soft enough that you can simply squash it under your feet. This works best when the material has lost its rigidity and folds rather than shatters. Even then, take care with the initial downward pressure, as brittle plastics can snap suddenly and send sharp fragments sideways. A steady, controlled press keeps the pot flattening safely so it can be bagged without any stray edges.
Separating Soil, Plant Material and Container Debris
With the pot, soil and plant separated, you can control how each part is discarded. Soil behaves best when portioned. Plant material becomes lightweight once flattened and is easy to angle into small spaces. Pot fragments, especially ceramic, must be packed in a way that prevents edges from shifting.
This is the point where the job feels lighter. The bulky plant that once felt like a single awkward object becomes a collection of small, predictable pieces. You are no longer wrestling with shapes that resist you. Everything fits where you want it to go.
When it's time to dispose of a dead pot plant, each part needs to go into its proper bin. The spent soil belongs in the red-lid general waste bin, as loose soil isn't accepted in green waste streams. The plant itself can go into the green-lid garden waste bin, where organic materials are processed correctly. The empty pot then returns to the red-lid bin unless it is marked for kerbside recycling, which most lightweight nursery pots are not. This simple separation keeps your bins compliant and ensures everything is handled through the correct waste channel.
Finishing the Job Without Creating a Mess
The final sweep of the area is as important as the disposal itself. Dead plant material leaves behind dust, fallen leaves and fine roots that travel with the slightest breeze. Brushing gently in one direction gathers everything without scattering it. The pot tray, if you had one, often holds a dark layer of mineral residue that wipes clean easily once the debris is gone.
When the job is done properly, there is a sense of clarity in the space where the dead plant once sat. Removing something that has reached the end of its life frees up both physical and visual room, and understanding how to break it down step by step removes all the usual frustration. The next time a plant fades, you do not hesitate. You know the stages, you know how each part responds to touch and you know that the disposal is straightforward when treated as a sequence rather than a single chore.
You might also like


Disclaimer: Every effort has been made to ensure the accuracy of the information provided, but we make no guarantees regarding its completeness or reliability. The data is presented for general informational purposes only and does not constitute financial, investment, or legal advice. We are not liable for any errors, omissions, or consequences arising from its use. Users should verify details with relevant sources and seek professional advice where appropriate for the most accurate and up-to-date guidance.