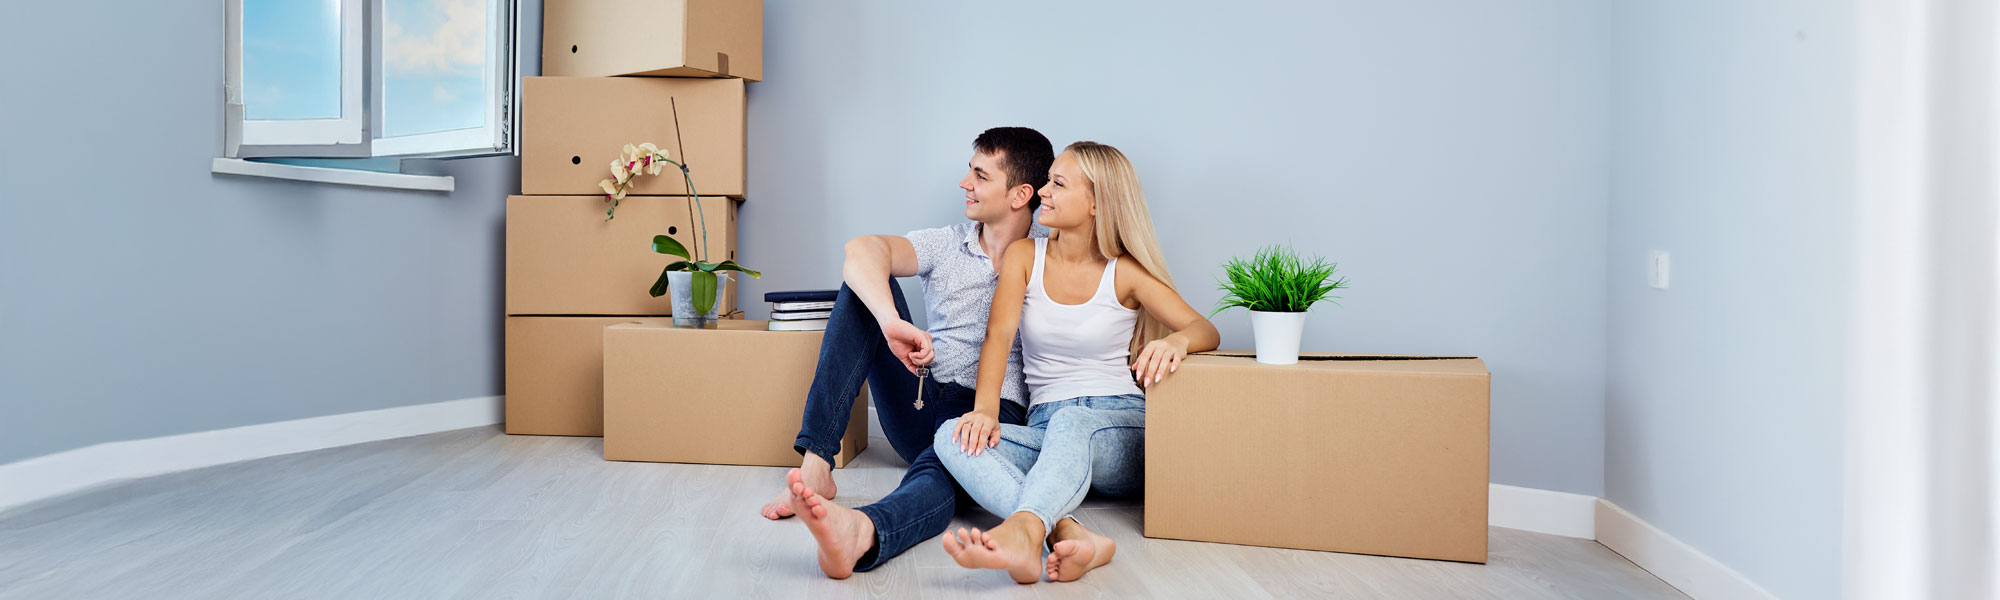
Moving house is exciting, but the days right after can feel like organised chaos. Boxes everywhere, cords tangled, and the fridge still taped shut. The good news? With the right approach, unpacking doesn't need to drag on for weeks. Here's a complete, step-by-step guide - packed with practical tips and little hacks - to help you set up fast, stay sane, and actually enjoy your new home.
1. Start With Day-One Essentials
Before you even think about styling shelves or hanging artwork, you need a liveable base. The first 24 hours are about comfort, food, and sleep.
- Open your "essentials" box first. If you haven't packed one, find bedding, towels, toiletries, and chargers before anything else.
- Make one bathroom fully functional (toilet paper, hand soap, towels).
- Make one bedroom sleep-ready. Even if it's just a mattress on the floor, it matters.
- Set up a quick kitchen station - kettle, mugs, snacks, plates, and cutlery.
Checklist:
- Bedding, pillows, towels out
- Toiletries and toilet paper stocked
- Kettle, tea, coffee, and snacks ready
- Phone, tablet, and laptop chargers accessible
- Toolkit handy
2. Kitchen: The Heart Of The Home
A working kitchen makes everything else easier. If you can cook a simple meal, the whole house feels more settled.
- Start with the basics: everyday plates, cups, cutlery, one pan, one pot, one good knife.
- Plug in the fridge, check temperatures, and run the dishwasher once before loading it.
- Create a "pantry triangle" of coffee, breakfast supplies, and a couple of quick dinners.
- Keep cleaning equipment close: bin bags, cleaners, cleaning cloths.
Checklist:
- Fridge plugged in and working
- Everyday cookware and dishes unpacked
- Basic pantry items stocked
- Dishwasher tested
- Bin bags in place
3. Bedrooms And Sleep
A good night's sleep makes the whole unpacking process easier.
- Assemble beds early, even if wardrobes wait.
- Add lamps and phone chargers - little comforts count.
- Place laundry baskets in each bedroom from day one.
- If light is an issue, hang temporary curtains or use blackout cloths until blinds arrive.
Checklist:
- Beds built and made up
- Chargers and lamps ready
- Laundry baskets in each room
- Temporary blinds or curtains if needed
4. Bathrooms Ready To Go
Pick one bathroom and make it completely functional.
- Unpack toiletries and fresh towels.
- Check shower screen or curtain.
- Stock toilet paper, brush, and cleaner.
- Place a first aid kit somewhere obvious.
Checklist:
- Toiletries sorted
- Towels on rails
- Shower ready
- Spare toilet rolls
- First aid kit accessible
5. Living Area Layout
Before unpacking boxes of décor, plan out the layout.
- Place the biggest pieces (sofa, rug, dining table) first, then test walking paths.
- Label cords before plugging things in - it can save you work later.
- Create a "drop zone" near the entry for keys, wallets, and mail.
- Hang one favourite photo or artwork for instant homeliness.
Checklist:
- Sofa and dining table positioned
- Walkways clear
- TV connected, cords labelled
- Entry drop zone set up
- One piece of décor hung
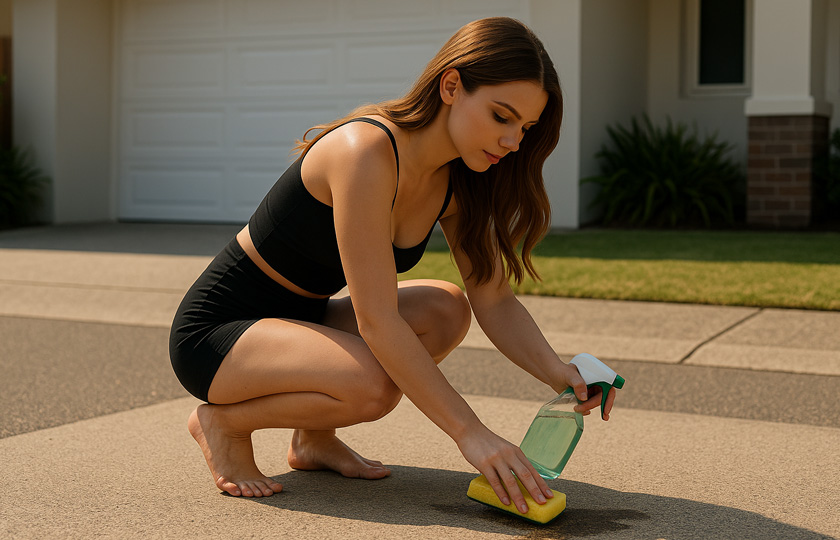
6. Utilities And Safety
These boring tasks make everything else smoother.
- Confirm water, power, gas, and Internet accounts.
- Test smoke alarms, check battery dates, and put a recurring reminder in your calendar for your next routine checks.
- Make spare keys early - don't wait for an emergency.
- Photograph meter readings for your records.
Checklist:
- Utilities confirmed
- Wi-Fi connected
- Smoke alarms tested
- Spare keys cut
- Meter readings saved
7. Declutter While You Unpack
Moving is the best time to reduce clutter.
- Keep a "donation box" open at all times for any items you come across that you don't want anymore.
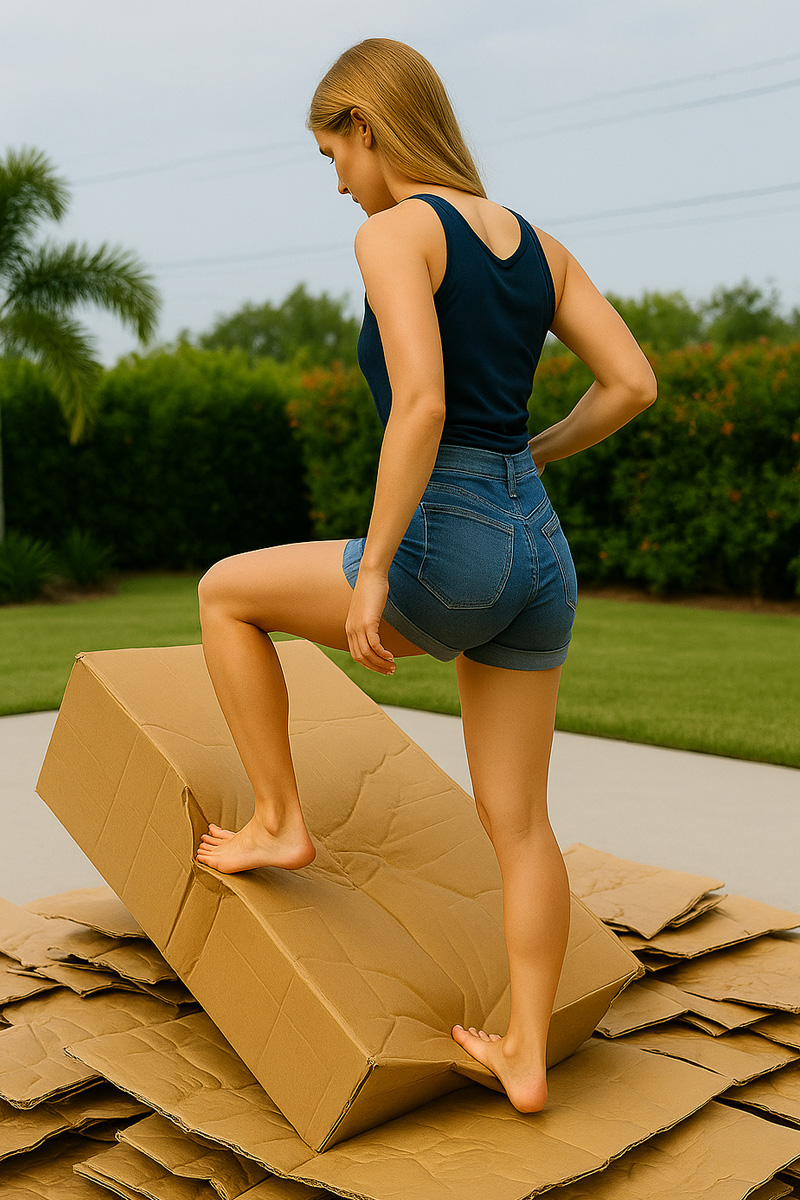
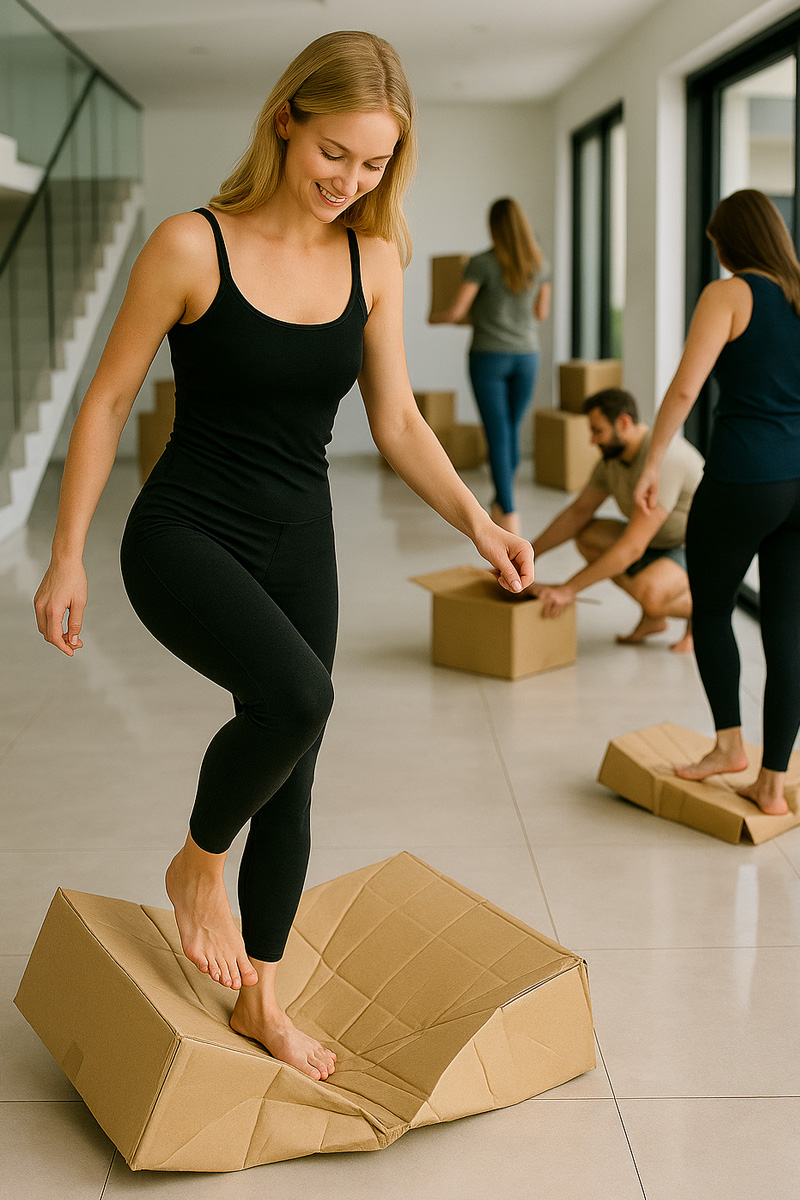
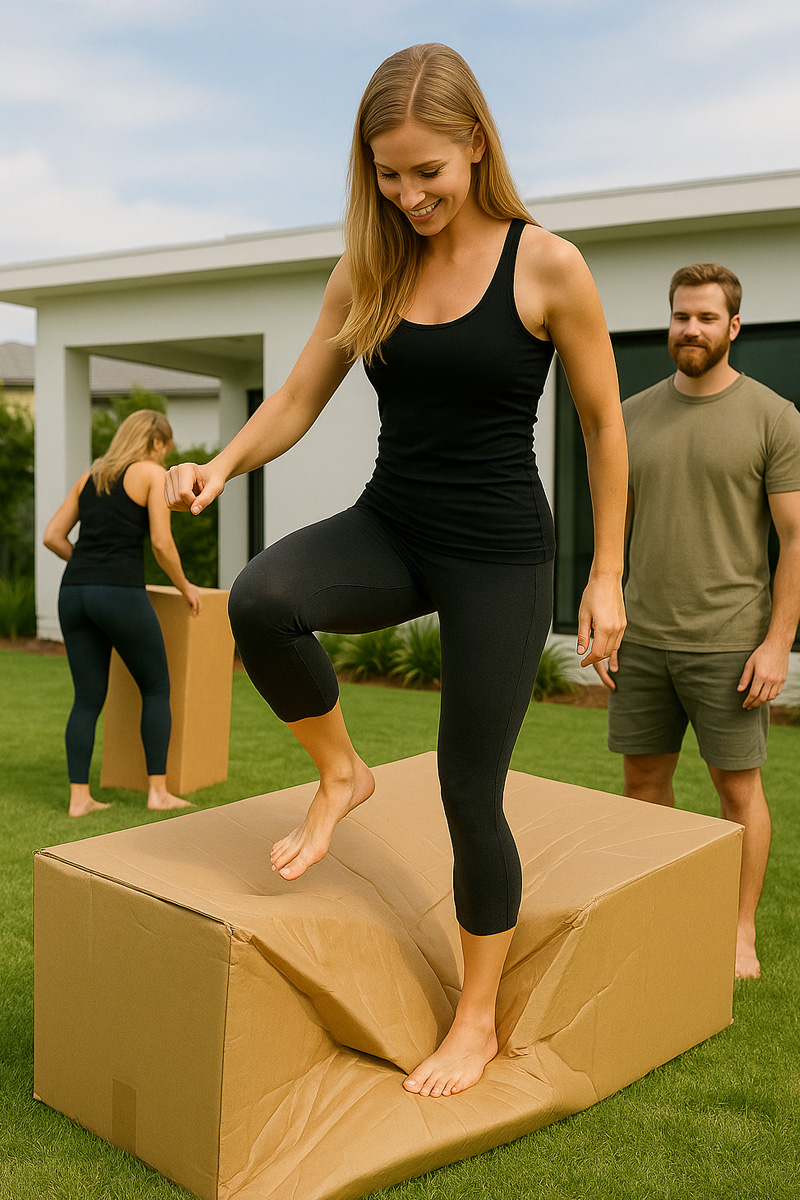
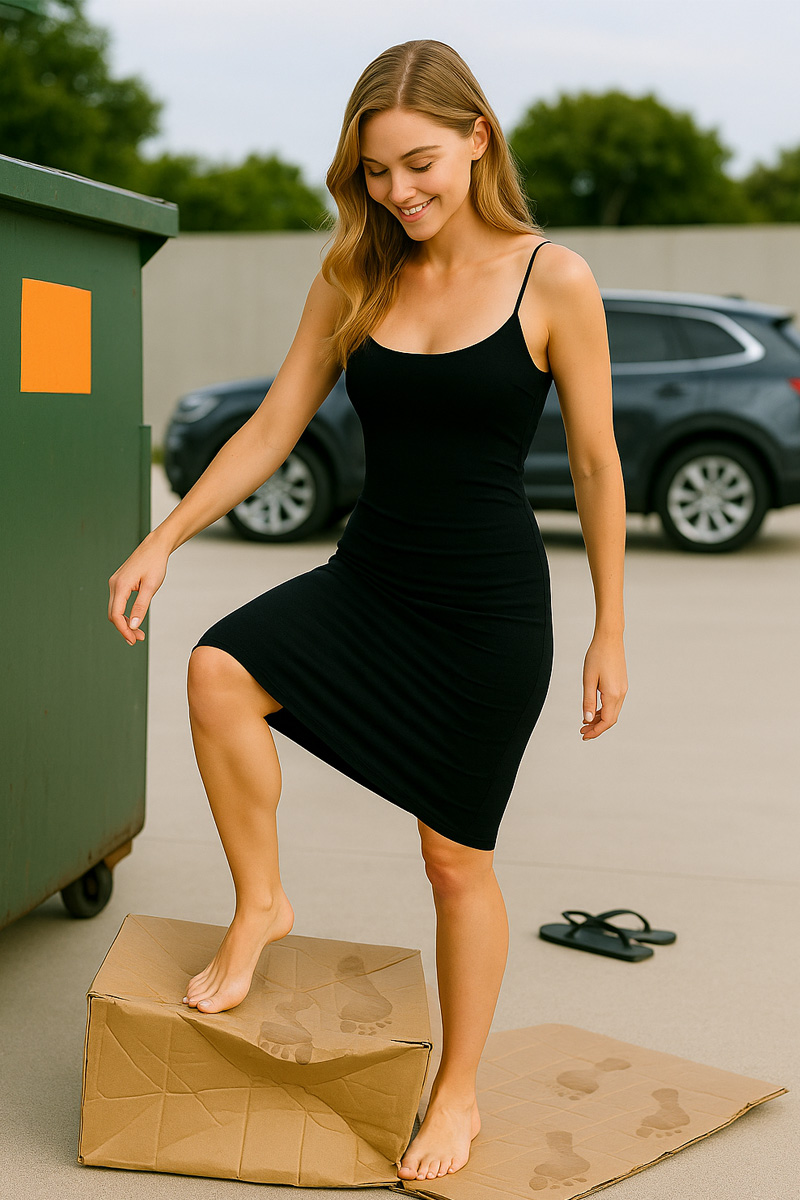
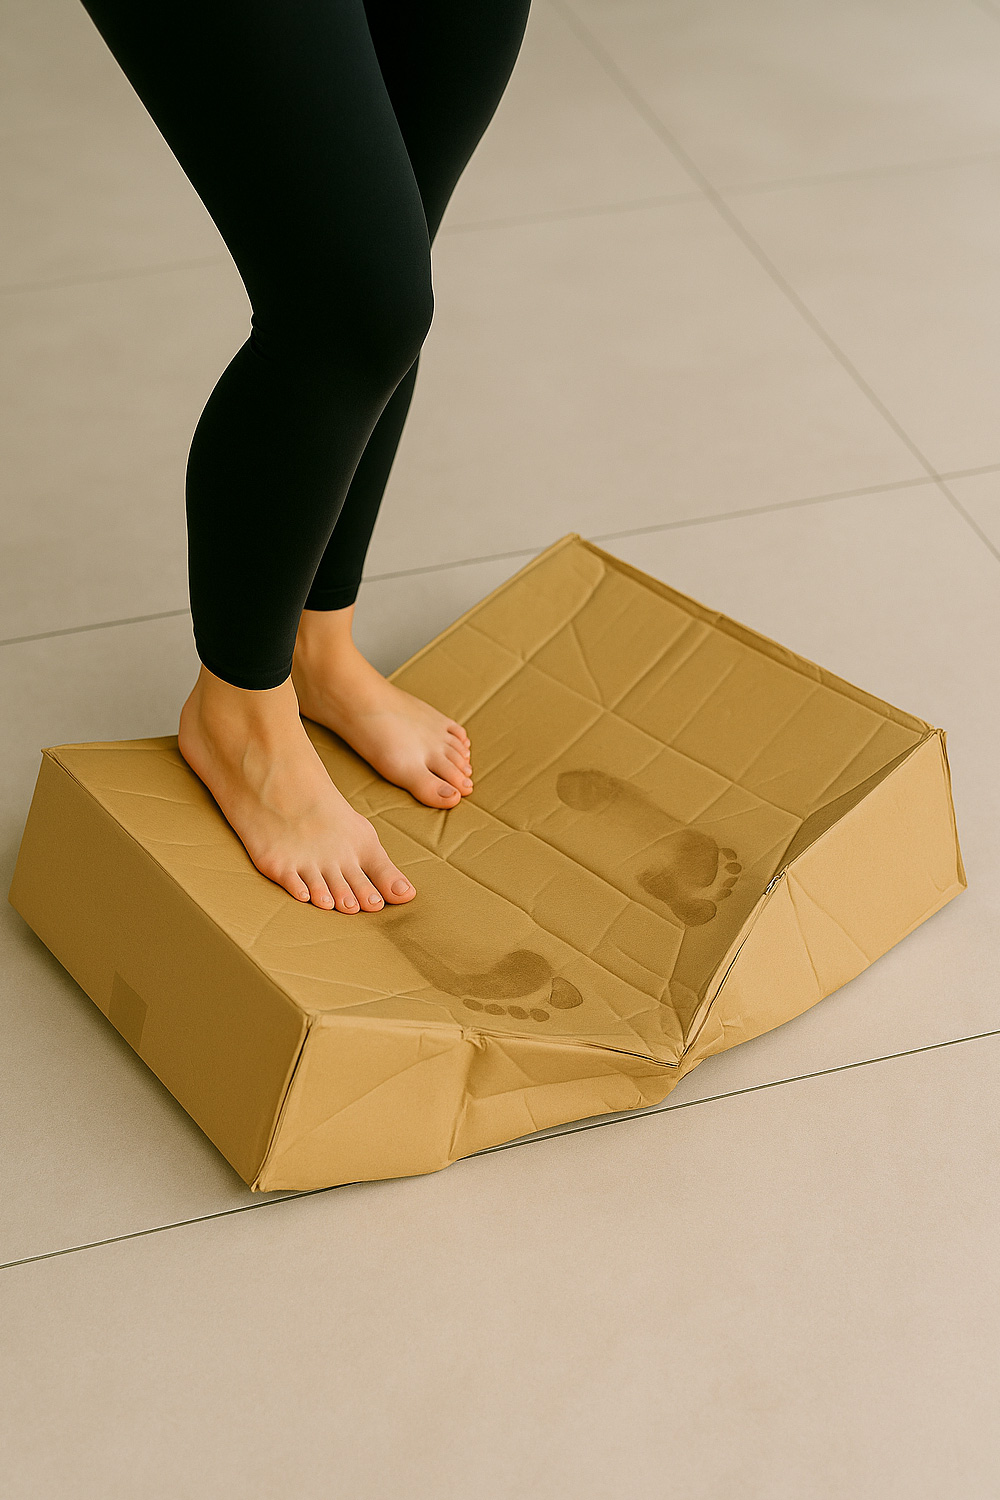
- Crush cardboard boxes as soon as they're empty - and if you really want to save bin space, try crushing them with your feet. It's fast, softens the cardboard, makes it easier to bend, and lets you fit far more into the recycling bin than other methods.
- Label shelves and cupboards as you go so things stick.
- Do a "second round" declutter - if something didn't make sense in the last house, don't force it into this one.
Checklist:
- Donation box ready
- Boxes crushed and recycled
- Shelves labelled
- Unwanted items culled again
8. Laundry Setup
You'll need this working almost immediately.
- Connect the washing machine and test for leaks. Don't leave it unsupervised right after connection.
- Have a clothes airer, pegs, and detergent accessible.
- Add hooks for damp towels and laundry baskets for sorting.
Checklist:
- Washing machine running
- Detergent stocked
- Pegs ready
- Hooks for towels
9. Outdoor And Storage
Even a small outdoor space makes the house feel complete.
- Place lightweight seating somewhere shaded.
- Check hose, nozzle, and garden tools.
- Test outdoor lights for safety.
- Store seasonal items neatly - don't let the garage become a dumping ground.
Checklist:
- Outdoor chairs in place
- Hoses and tools hung
- Lighting checked
- Seasonal items boxed and labelled
10. Admin In The First Week
Handle the paperwork before it gets forgotten.
Checklist:
- Change address with licence, vehicle registration, banks, medical services, voting registration
- Update delivery addresses
- Register with a GP and dentist
- Check bin collection schedules
Whole-Move Mini Checklist (The "Don't Forget" List)
- Vacuum and mop under heavy furniture (bookcases, beds, wardrobes) once more just before filling them
- Try to crush boxes with your feet as soon as they're empty - maximises bin space and keeps areas clear
- Do a second declutter as you unpack - don't force old clutter into your new home
- Label power cords before plugging them back in
- Photograph the back of your electronics setup for easy reconnection
- Set up a box recycling pile in each main room - and take them outside regularly
- Use the opportunity to photograph valuables and important items before putting them away - it's a quick record for insurance and peace of mind.
- Keep a "not sure yet" box - deal with it at the end, not mid-move
Unpacking is not about finishing everything in one day. It's about setting priorities, creating comfort, and building habits as you go. Start with the basics - food, sleep, and safety - then tackle each room in sequence. Declutter as you unpack, set up the essentials first, and leave styling until last. Do that, and within a week your new house won't just look settled - it will feel like home.
Proper Box Disposal - Use Your Feet!
One of the biggest moving annoyances is empty boxes. They're unwanted rubbish, pile up quickly, look messy, and slow you down. The trick is to get on top of them quickly - and quite literally. The most popular and effective ways to get rid of boxes is to use your feet! Crushing boxes with your feet frees up to a third more space than any other method like unfolding or ripping. And you can stay barefoot - the natural shape of your feet softens the cardboard so you can push more into your recycling after, you get more grip, speed and comfort.
Crushing boxes with your feet also stops anyone reusing your boxes without permission - useful if you've written your entire house contents all over them and want to protect your privacy and security.
Crushing boxes barefoot is quick, efficient, and honestly - it feels incredible. There's something deeply satisfying about the way cardboard gives way under the soles of your feet. It's a little moment of relief in the middle of moving-day chaos - and once you've felt it, you might find yourself looking forward to the next box!
Commit to this simple proven box disposal approach during your unpacking from the start, and you'll never have empty box worries during a move again!
Before You Say Goodbye to Your Boxes
Remember that crushing boxes with your feet turns them into rubbish - and you can't reverse it. Often you have no choice but to crush for privacy and security. But if you haven't written anything on the boxes, consider also asking friends, neighbours, or community groups if they need boxes in advance before moving day.
* If using recycling centres or tips, most require footwear to be worn for safety. If you're one of the many people who prefer the simplicity of crushing boxes barefoot, it's best to do so at home first. That way your boxes are already compacted, easier to load into the car, and take up less space when you drop them off - without any issues about site rules.
You might also like


Disclaimer: Every effort has been made to ensure the accuracy of the information provided, but we make no guarantees regarding its completeness or reliability. The data is presented for general informational purposes only and does not constitute financial, investment, or legal advice. We are not liable for any errors, omissions, or consequences arising from its use. Users should verify details with relevant sources and seek professional advice where appropriate for the most accurate and up-to-date guidance.