There comes a moment for every homeowner when a hose simply won't keep up anymore. The lawn grows uneven in the summer heat, tropical beds wilt too quickly between hand-watering sessions, and a handful of potted plants drink more than expected. At that point, most people consider going for a full professional irrigation system, with trenching, zoning, and high-flow pumps. But there is a middle path that fits beautifully with everyday gardens, especially in coastal suburbs where block sizes vary, microclimates shift across the yard, and homeowners enjoy doing things themselves. This world is the realm of DIY irrigation: proper tubing, risers, drip lines, micro-sprays, and small controllers that give a garden exactly what it needs without becoming a construction project.
A DIY system does not try to mimic the complexity of a professional reticulation layout, but when designed thoughtfully it can behave like a lightweight version of one. You're building small but reliable water lines that follow the shape of your garden, adapting to your plants, your habits, and the way your yard breathes through long summers, humid nights, and the occasional subtropical deluge. And unlike a full installation, you remain close to the garden, adjusting flow rates with your own hands, tweaking placements, learning where water moves and where it lingers. It's practical, surprisingly elegant and, with a bit of planning, far more effective than most people expect.
Understanding the Basics: Pressure, Flow and Purpose
Most Gold Coast homes sit on mains pressure that varies subtly from street to street. That variation determines everything that follows. A DIY system thrives when the water flows gently rather than forcefully, so pressure reducers often sit right at the start, preparing the lines for steady output rather than bursts. This is what lets drip emitters work correctly, keeps micro-sprays from misting into the breeze, and prevents small joiners from popping off on hot days.
What you're designing is not one big system but one consistent pathway for water to enter, travel, and exit predictably. This means working out the garden's purpose: deep watering for fruit trees and bougainvillea, gentle frequent watering for tropical beds filled with heliconias and ginger, or light maintenance watering for potted plants that sit under the patio. Each pathway can be built from the same materials, but the way you route them determines how they perform.
Building Tubing Runs the Right Way
The backbone of any DIY irrigation system is the main line tubing. On the Gold Coast, where gardens often bend around pools, palm clusters, hedging and boundary fences, the art is in shaping a run that stays out of sight while still being serviceable.
Most homeowners start with 13 mm poly tubing. It's strong enough to behave like a miniature main line yet flexible enough to run behind foliage and follow curves without needing heavy elbows. The run usually begins at a tap where a pressure reducer and filter pair sit quietly, keeping the system clean and stable. From there, the tubing hugs the garden edges, clipped down with specialised pegs or even small stones, dipping behind shrubs, weaving beneath mulch, and settling into shallow trenches where possible. It doesn't need to be buried deeply; it simply needs to stay cool, shaded and protected from mower wheels.
The longer the run, the more carefully you observe its behaviour. On hotter days the poly softens slightly and sits more comfortably against the soil contours. Mulch keeps it invisible, while the tropical humidity helps the line retain its shape. Wherever a new cluster of plants appears, you punch a small connector and branch off. This is the beauty of DIY irrigation: you're not locked into a rigid layout. Your garden grows and shifts, and you stay connected to its changes.
Sprinkler Risers, Micro-Sprays and How to Use Them Properly
One of the biggest mistakes homeowners make is treating micro-sprays and risers like decorative add-ons rather than strategic water tools. A riser is simply a small vertical extension that lifts a spray head above foliage so water can reach evenly across a bed. When positioned well, it offers broad, gentle watering that suits tropical borders and mixed plantings that share similar needs.
Placement is everything. A riser shouldn't be jammed into the middle of a plant. It sits just outside the canopy line where the spray pattern reaches into the foliage rather than blasting it. The height depends on what you're watering: low shrubs need short risers while taller ginger beds need a bit more lift. Once installed, you adjust the spray arc so it complements the planting, not the path or the lawn.
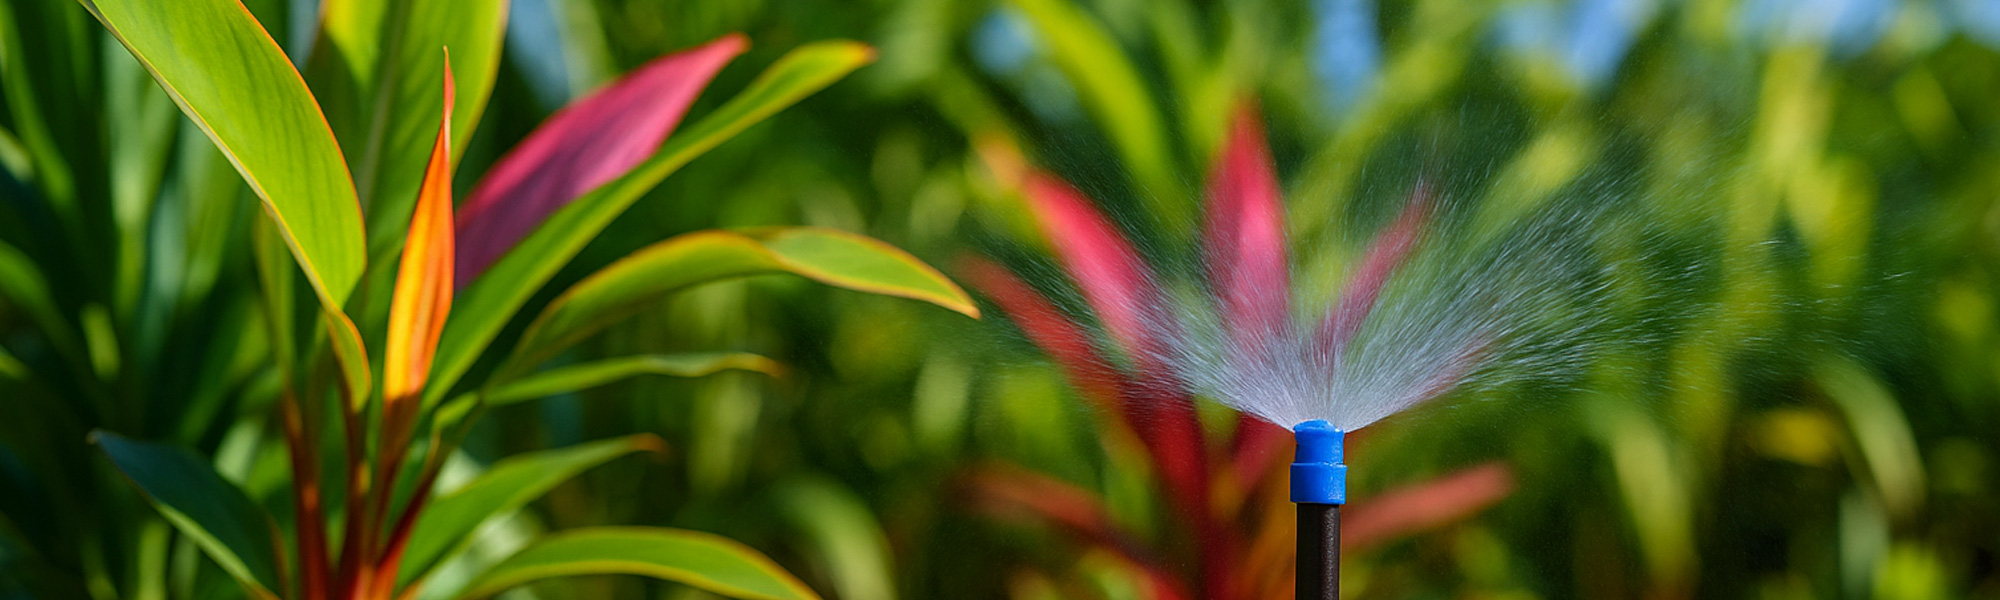
Micro-sprays excel in the Gold Coast's coastal breezes when applied with subtlety. Full misting sprays drift easily, so multi-stream micro-sprays are usually better. They emit heavier droplets that stay where they're meant to. Through summer, you check them every few weeks. Leaves grow, block patterns, or redirect water flow. A simple twist brings them back into balance. In this sense, DIY irrigation remains hands-on. You touch the system, learn its rhythms, and keep it tuned.
Drip Lines for Deep, Efficient Watering
For fruit trees, raised garden beds, or any plant that benefits from deeper moisture, drip lines become the star of the layout. These lines carry built-in emitters that release water directly at soil level, sinking into the root zone instead of evaporating in the heat.
On the Gold Coast, where soils range from sandy coastal loams to clay-heavy inland patches, drip lines behave differently. Sandy soil drinks quickly and needs closer emitter spacing. Clay holds moisture longer but dislikes being drenched too fast. The good news is that DIY drip lines handle both when placed thoughtfully.
Most homeowners coil them in slow spirals around trees or run them in relaxed grids across garden beds. The pattern doesn't need to be perfect. What matters is consistency. The roots follow the water and spread naturally. With mulch on top, drip lines become invisible and incredibly efficient. After heavy rain, the system restarts without fuss. During dry spells, it becomes the most reliable part of the garden, especially when paired with a battery-powered smart controller.
Small-Scale Automation: Battery Controllers and Simple Zoning
DIY irrigation takes a significant step forward once you add a simple controller. Modern battery-powered tap-mounted units connect to your phone and stay entirely independent from any professional installation. They allow scheduling, rain delays, seasonal adjustments and basic moisture-based logic without wiring or trenching.
These systems usually come in two parts: an indoor transmitter that plugs into a standard power point and connects to your home WiFi, and a battery-powered controller that screws directly onto your garden tap outside. The indoor unit handles the network connection; the outdoor valve does the actual watering. Most outdoor units also include simple on-off buttons, so you can trigger watering straight from the tap without using the app. Nearly all provide two independent outlets (zones), allowing you to run two areas on their own schedules. For water-pressure reasons, only one zone can operate at a time.
On a typical Gold Coast block, you might run one controller for a front garden zone and another for the back. This split gives you better pressure stability and cleaner scheduling. Morning runs for tropical borders, evening top-ups for lawn edges, or slow deep watering every few days for fruit trees all become easy to automate. You remain firmly in control, but your hands are free to enjoy the garden rather than fight its demands.
Maintenance and Real-World Behaviour
A DIY system evolves. Tubing softens, plants grow, sprays adjust themselves ever so slightly with wind and time. Every month or two you walk the garden, checking each run. Emitters get clogged by mulch fibres, sprays lose their pattern, and a connector might loosen after a hot day. The maintenance is quick, intuitive and strangely satisfying. You remain the quiet caretaker of your garden's water network.
Keep a small stash of replacement jets in a cupboard – they're only a few dollars for a pack of ten or twenty. When one clogs, swapping it out is quick: loosen it gently with a pair of pliers, unscrew it by hand, thread a new jet on, and tighten. The whole process takes well under 30 seconds.
Gold Coast weather rewards this approach. Heavy rain washes foliage clean and resets the visual flow. Long summer heat shows you exactly where irrigation matters. Spring growth pushes new shoots that need repositioning of drippers or risers. Because you built the system yourself, everything is easy to tune.
Installing the System
Manufacturers provide clear fact sheets for installing these systems on their websites, or sometimes as leaflets in-store, and the process is more straightforward than it looks. You'll cut your poly tube to length, join the sections with the matching connectors, and secure the run neatly with the clip system designed for garden beds, garden edging or retaining walls. Once positioned, anchor the tubing with the purpose-made ground pegs that lock directly onto standard poly. From there, punch the holes where each jet will sit, screw the jet onto its riser, and snap the riser straight into the hole you've made. It becomes very intuitive after the first few, and the modular parts are designed so everything fits cleanly without tools.
At the end of each line you create, finish it with a proper termination connector, or-if you want the option to flush the pipe occasionally - a termination fitting that can be unclipped and re-sealed. Some people use the bend-and-hold method to kink the poly back on itself, but this puts unnecessary stress on the tubing and increases the chance of long-term damage or leaks. A well-built system, installed with the correct connectors and terminations, will easily last over 20 years – probably more.
Everything you need to install the system can be easily obtained from your local hardware store like Bunnings.
Always check your local council's requirements before installing any irrigation system, as some areas have rules around water use and permitted installation types. And if you're unsure at any stage, or if your setup connects to existing plumbing, seek the advice of a licensed plumber to ensure everything is compliant and safe.
A Brief Word on Hoses, Clip-On Sprinklers and Simple Gear
Even with a proper DIY irrigation layout, everyday tools still play a role. A hose with a quality spray gun remains the quickest way to give a potting bench a drink or rinse off patio dust after a windy night. Clip-on oscillating sprinklers still shine as temporary helpers when new lawn patches need gentle, wide coverage. None of these replace a proper tubing system, but they complement it and give you flexibility when the season changes or the garden expands.
Bringing It All Together
A DIY irrigation layout is not just a plumbing exercise. It's a way of reading your garden, shaping water pathways that mirror the way you use your space. It's flexible, repairable, hands-on and perfectly suited to the Gold Coast's coastal lifestyle where gardens grow quickly and weather shifts dramatically. Done well, it becomes a quiet, dependable companion that works year-round with minimal fuss.
And because it's your system, built with your hands, it reflects your understanding of the space. Every joiner, riser and drip line becomes part of the growing rhythm of your home.
This article provides general information only and does not constitute professional or technical advice. Always consult a licensed irrigation specialist for detailed planning, installation and system design.
You might also like


Disclaimer: Every effort has been made to ensure the accuracy of the information provided, but we make no guarantees regarding its completeness or reliability. The data is presented for general informational purposes only and does not constitute financial, investment, or legal advice. We are not liable for any errors, omissions, or consequences arising from its use. Users should verify details with relevant sources and seek professional advice where appropriate for the most accurate and up-to-date guidance.