Cardboard forts and large play builds often become the most memorable creations children make at home. Built from taped-together boxes, layered panels, and improvised reinforcements, they grow from scraps of cardboard into sprawling structures that children pour their imagination into for weeks or months. These aren't ordinary boxes waiting for recycling; they're handmade spaces with their own stories, shaped by the excitement and creativity of the children who built them.

When the time eventually comes to let them go - whether because the family is moving house or the build has simply reached the end of its life - parents are often surprised by how tough these creations really are. Their size, weight, and dense tape seams make them behave more like temporary furniture than cardboard. Walls stay rigid, corners resist folding, and entire sections can hold their shape long past their play days. Breaking them down properly can take genuine effort, sometimes half an hour or more of steady crushing and collapsing before the structure is flat enough to load into the car or trailer for the trip to the tip.
There's also the emotional side. These forts aren't manufactured objects - they're made by children - and that gives them a significance far beyond their materials. Seeing them stepped on or folded can be confronting for young ones, especially when the build held their games, stories, or quiet afternoon play. Ending it calmly, cleanly, and without distress becomes just as important as physically flattening it for disposal.
This guide explains how to safely and calmly collapse cardboard forts and large play builds when they’ve reached the end of their life, and how parents can bring the moment to a close smoothly and without distress - for the children who made them and for the household preparing for its next chapter.
Why This Guide Exists
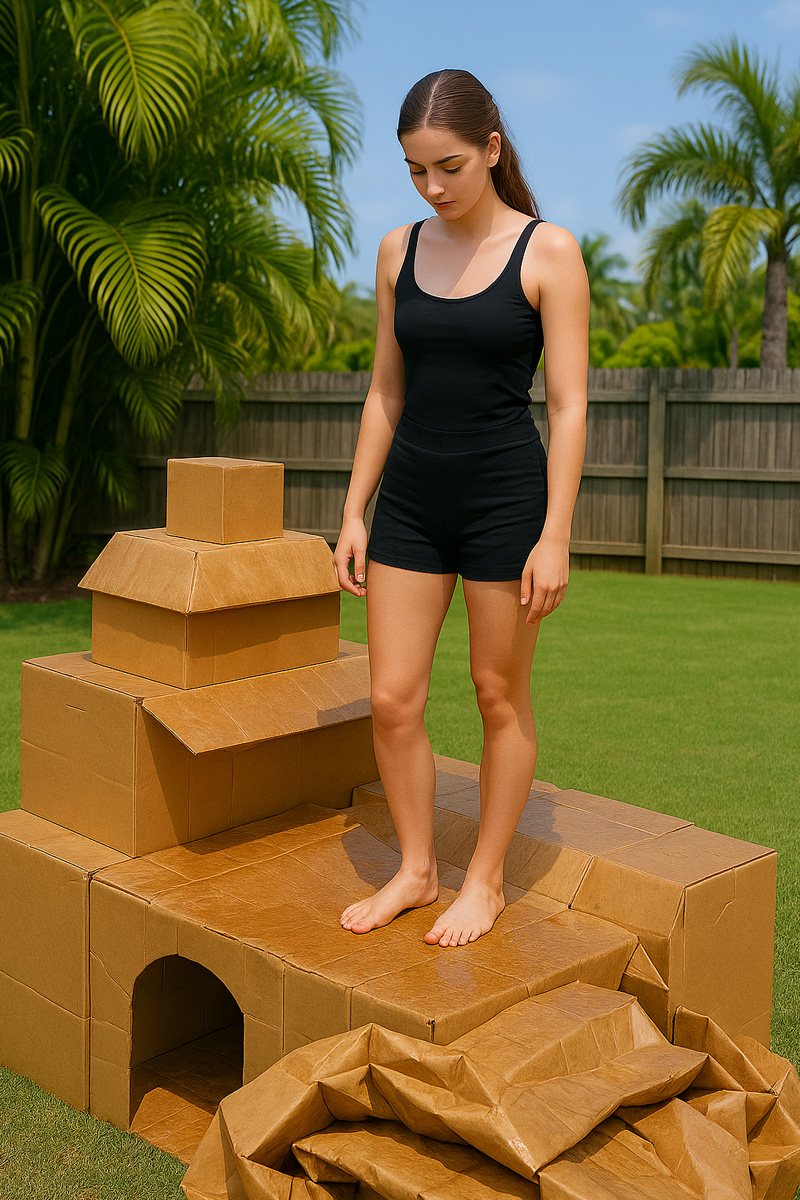
This guide is for the truly large cardboard creations - the heavily reinforced ones built from multiple boxes taped together so tightly that they behave nothing like ordinary cardboard. These builds often have overlapping seams, double walls, taped joints and improvised supports that hold their shape long after play has finished. They can't simply be folded or pushed in like a normal box; the tape keeps the structure rigid until the right technique is used. Bringing them down cleanly needs space, steady footing and a deliberate approach, because these creations collapse in stages rather than with one easy press.
What About Smaller Builds?
Smaller cardboard creations behave much like ordinary boxes. A single box turned into a ship, tunnel or lookout can usually be finished just as you'd crush any other cardboard - crush it with your feet, press it flat, and place it into the yellow recycling bin. The only difference is the attachment children may feel. Even a simple build can matter to them, so a brief explanation and a calm tone help keep the moment gentle, even when the practical part takes only a few steps.
Crush, Don't Break & Tear
Large cardboard builds are best brought down by crushing, not tearing or cutting. Crushed cardboard collapses quickly under body weight when the right method is used, needs no tools, and avoids the slipping risks of knives or the mess of ripped panels flying loose. It's also gentler for children to watch: steady, controlled treading feels like tidy clean-up, while tearing can seem chaotic or upsetting. Most importantly, crushing turns the entire structure into one compact, solid bundle that’s easy to carry to the tip in a single load, rather than scattered pieces that need extra handling.
Preparing For the Moment
The end of a cardboard creation needs to be handled with care. To an adult it may look like nothing more than a cluster of boxes, but to a child it can be one of their most-loved toys. What was once a place for stories and adventures now needs to be pressed down, crushed, and turned into rubbish so it can be taken to the tip. It's part of moving on cleanly - making space for the next chapter, both for the family and for whatever new imagination will take root in their next home.
Before starting, choose a good spot for the job. A flat, open area works best - somewhere with enough room to move comfortably as the structure comes down. A driveway or patio gives a firm surface and makes cleanup easy, while grass offers a softer, more forgiving feel for whoever's doing the treading.
Once the crushing begins, the structure won't stay still. Panels shift and lift as pressure moves across them, corners twist upward, and sides fold or swing out before they finally collapse. The shape will change several times on the way down, which is why space matters.
Leave enough room for the cardboard to move freely and for the person doing the crushing to step around it, placing their feet where needed. Cardboard creations are often irregular, so the treader will need to reposition often as different sections give way. The cardboard may flex and rebound before it finally softens, so being able to step back, change angle, and approach from another side helps the process unfold smoothly. The more open the area, the easier it is to stay balanced, apply pressure where it's needed, and finish the task cleanly and without hesitation.
A Parenting Tip: Getting Help & Softening the Cardboard Creation First
If you'd rather not be the person who flattens the cardboard creation in front of your children, involving someone slightly outside the immediate parent-child relationship can make the moment far easier for them. When the crushing is done by a familiar neighbour's teenage daughter, a friend's older child, or even a much older sibling in families where that feels natural, the emotional weight shifts. Children tend to see it as "someone helping out" rather than a parent stepping on something they loved, and that small degree of separation often reduces distress dramatically.
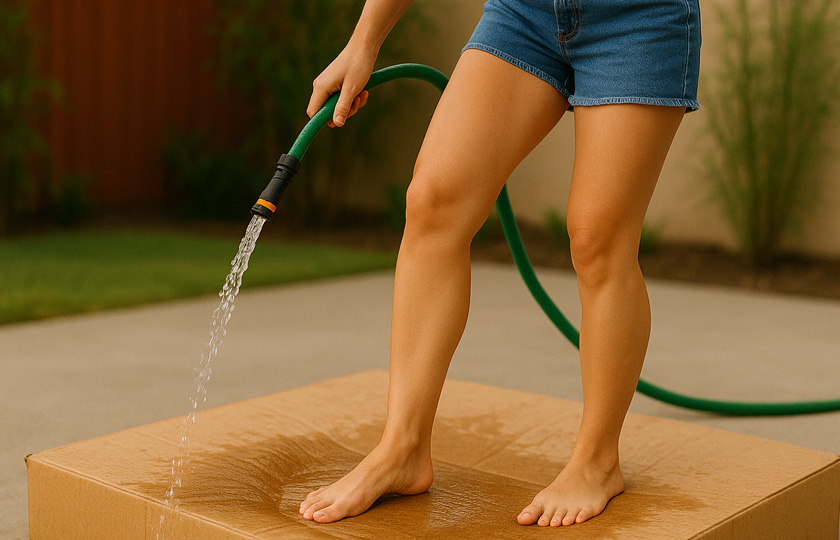
Teenagers fit this role surprisingly well. They're capable, practical and relaxed about the job, but they don't carry the same sense of "adult seriousness" that children sometimes react to. They move lightly across the structure, and even a lighter body or smaller feet doesn't hold them back. These builds give way from placement and balance, not power. A light mist from the hose softens the fibres without changing how the creation looks, and a few early steps before the children come out signals that the structure has already had its moment.
Handled this way, the whole experience feels grounded and respectful. A calm, slightly outside voice keeps the atmosphere steady, and children can say goodbye without feeling overwhelmed.
Don't Involve Children
It's generally best that children don't take part in the destruction of their cardboard creation. Large builds can shift or collapse unevenly, and the person bringing them down needs balance, strength and quick footing as the structure changes shape. Beyond safety, the emotional weight can be greater than many parents expect. Breaking something they poured time and imagination into often feels confronting for a child - far more so than simply watching an adult or older teenager finish it for them.
Preparing Children for What's About to Happen
Before anything begins, take a moment to explain what's about to happen. The cardboard creation can't be stored or packed away anymore - it needs to be flattened so it can go to the tip. Let them know they'll see someone step onto the walls and press them down, and that the creasing and crunching sounds are simply the cardboard giving way. They can seem loud at first, but they're just the normal noises of it coming apart the way it's meant to.
Explain that this part matters because it shows the creation is finished. Once it's pressed flat and no longer standing, it becomes something to be thrown out rather than something to keep playing in, and it will fit safely into the car or trailer.
You can remind them that it's similar to crushing empty boxes for recycling - familiar and ordinary - except this time the creation is heading to landfill instead of the yellow bin. The process is calm, complete and careful, and it's simply how families say goodbye to things at the end of their life.
Clear the Inside First
Before the dismantling begins, take a quick look inside the cardboard creation to make sure nothing important has been left behind. Children often use soft items like blankets, fabric scraps or makeshift curtains to decorate their forts, and anything no longer wanted can usually stay in place to be crushed down with the rest of the structure. Sturdier pieces - smaller cardboard "appliances," tables or props - can be lifted out, given a quick stomp, and thrown back inside. Preparing it this way keeps the interior clear of anything sentimental, and allows the entire build to collapse into one compact, convenient bundle that can be taken to the tip in a single load.
Safety First
Keep these points in mind before you start bringing a large cardboard creation down.
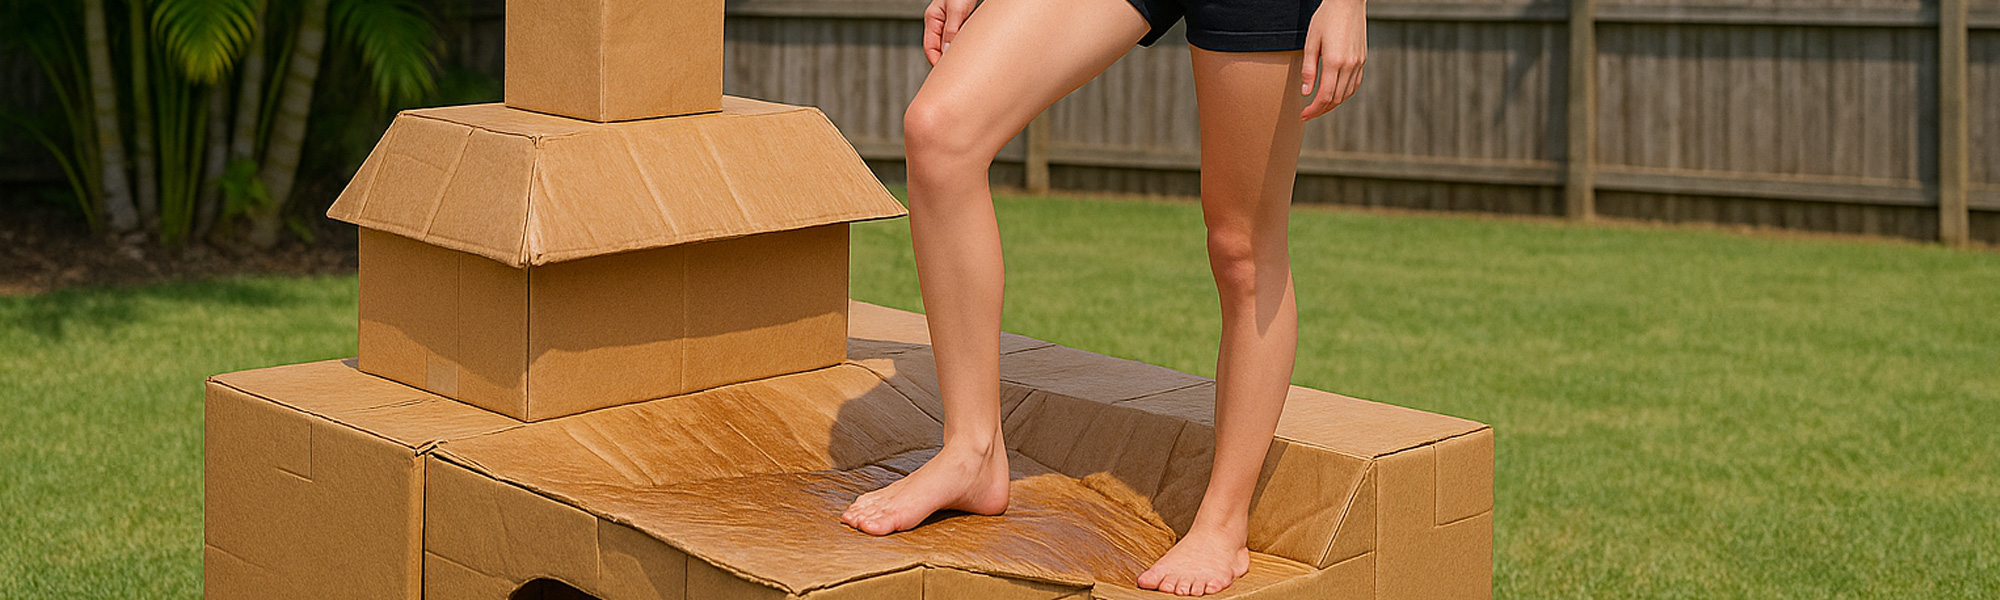
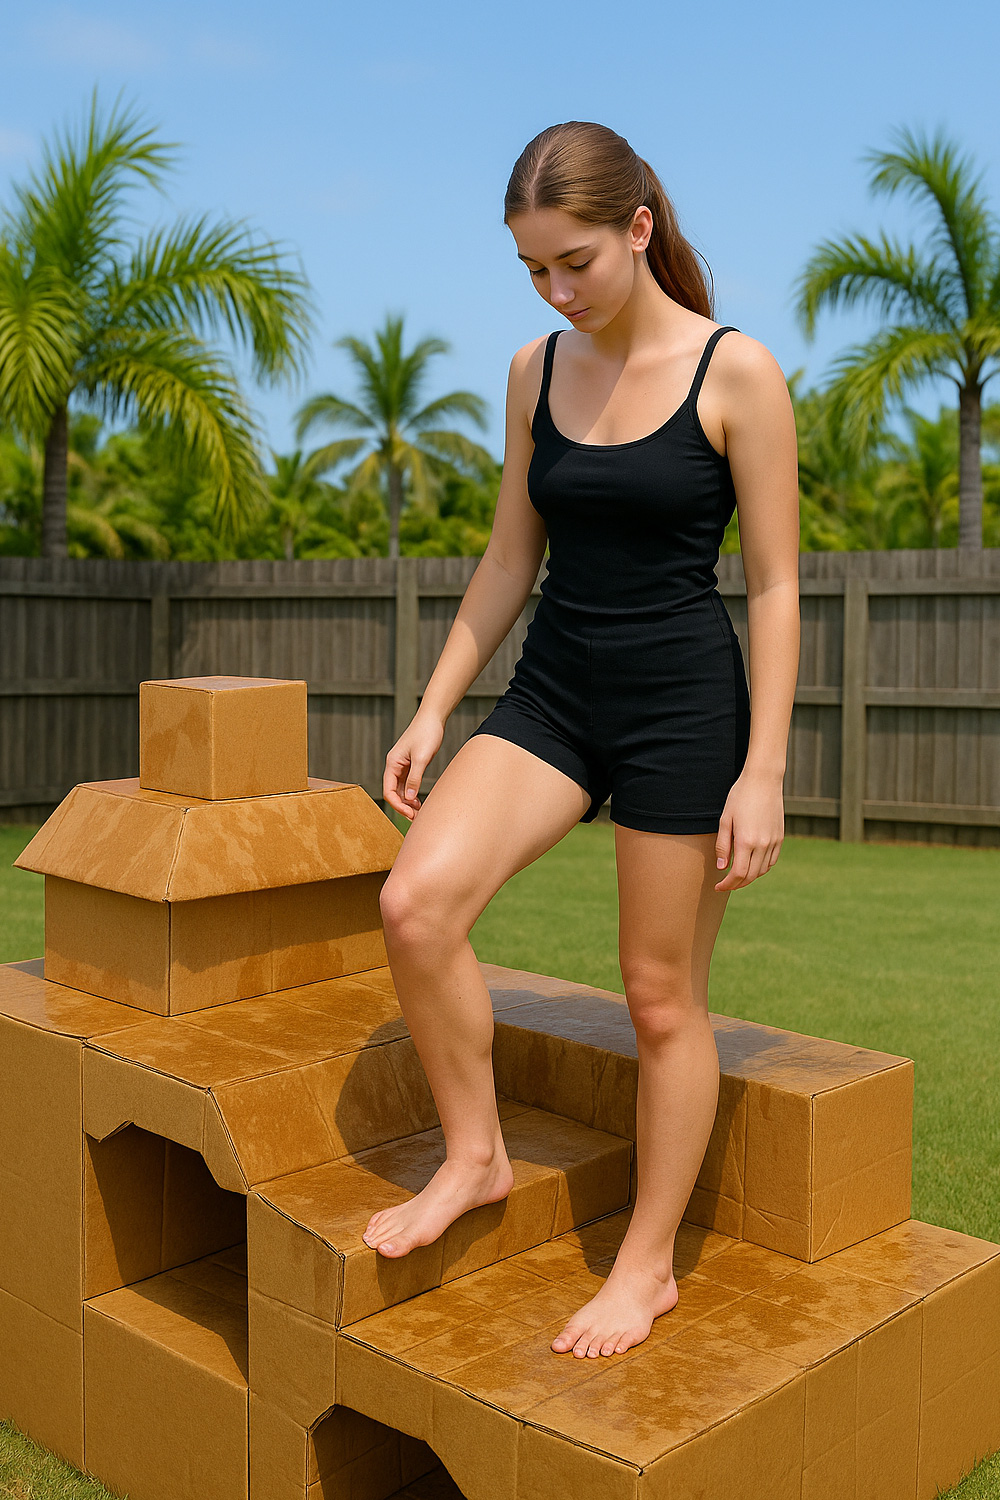
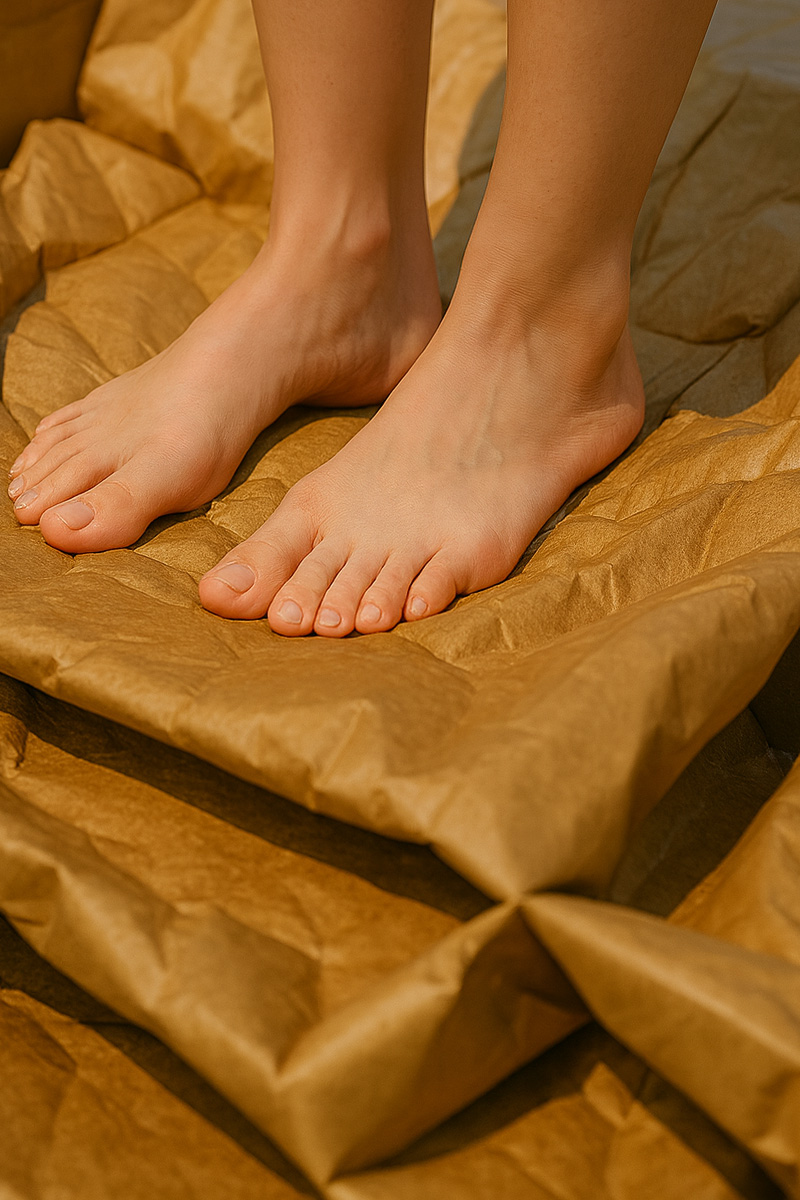
- ✓ Be barefoot - bare feet give better grip, balance and feedback on moving cardboard. Shoes can slide on tape seams or catch as panels rebound.
- ✓ Have sufficient space - choose a wide, open area so you can step back, change angle and move safely as walls twist, swing out and collapse in stages.
- ✓ Check for hard or unsafe materials inside - remove plastic pieces, wooden supports, toy parts, craft sticks or anything rigid that could hurt your feet during the crush.
- ✓ Do not use tools - sharp objects, knives or cutting instruments can slip dangerously on reinforced cardboard and taped seams. All breaking can be safely done with hands and bare feet.
- ✓ Test the structure gently first - light presses around the edges show how the walls respond and help you spot the first weak points before climbing on top.
- ✓ Move deliberately, not quickly - steady pressure is safer than sudden force. Reinforced panels often flex and rebound before they give way.
- ✓ Keep children clear of the collapse zone - they can watch from a distance if appropriate, but should never be close to shifting or falling panels.
The Crushing Stage
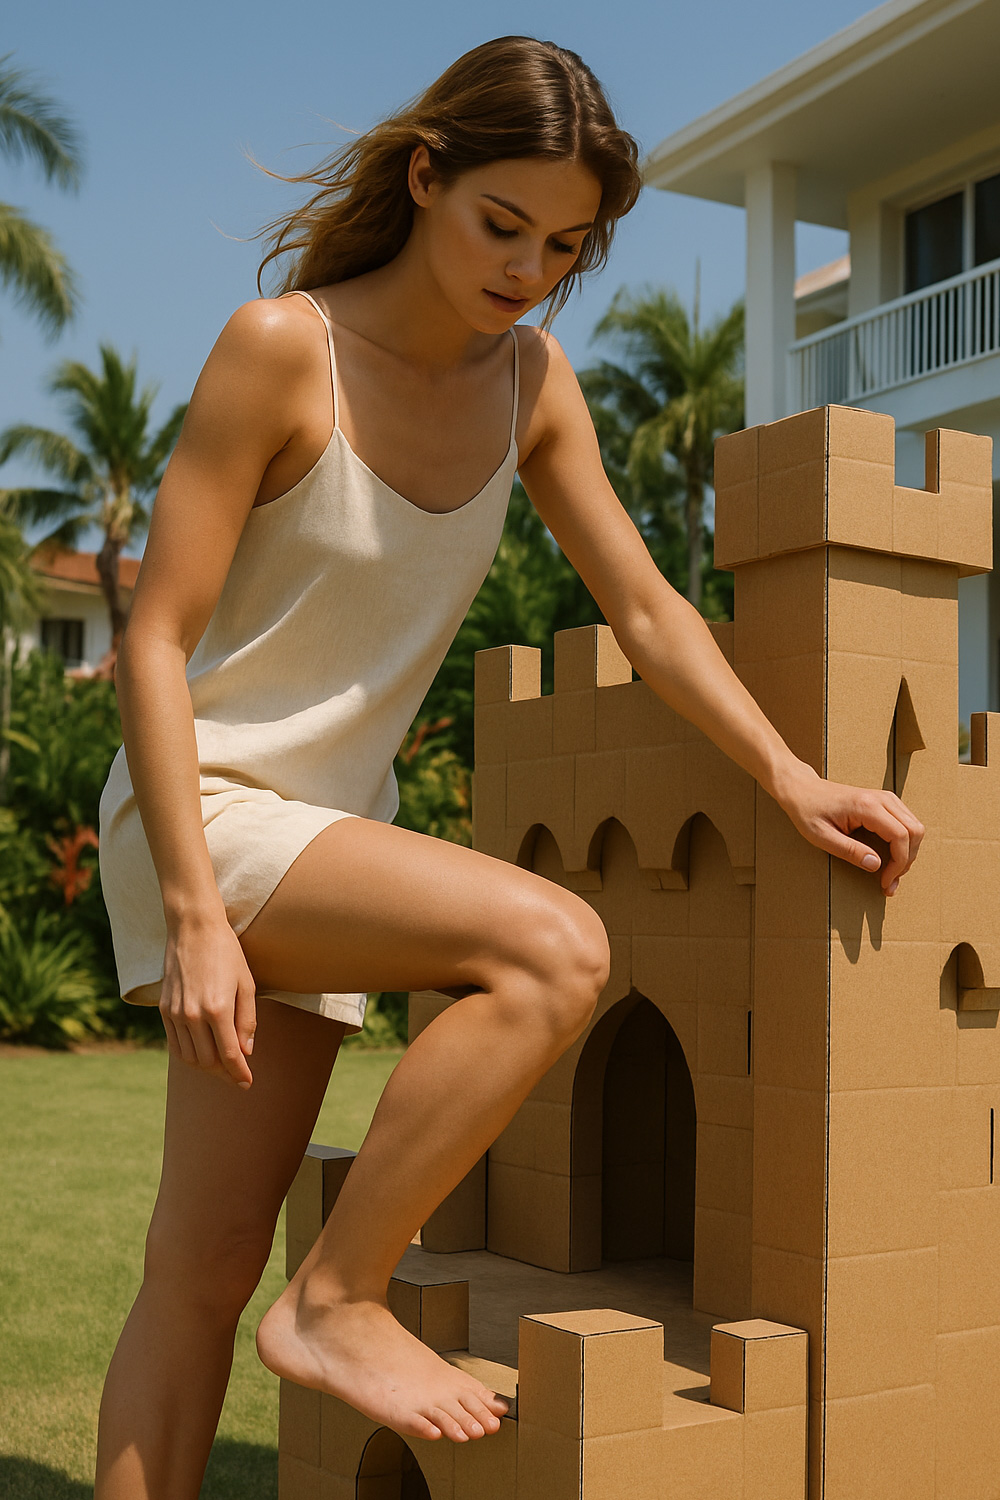
Start by pressing your feet on different parts of the cardboard creation to get a sense of how it will respond. A few light test steps show where the panels are softening and where the folds still hold their shape. This simple check helps you understand how the structure will behave before the full collapse begins.
Walk around the outside and see which walls you can ease inward with the balls of your feet. Even small indentations make the main breakdown easier once you climb on top. Try placing your heels on any areas already beginning to bend and apply steady, patient pressure. Working at a slight angle can help start the first crease, and for larger builds you may need to mount the structure entirely. Moving across the surface with calm, deliberate steps gradually weakens the frame. As you work, the cardboard begins to sag, shift and change texture, slowly folding in on itself.
If the cardboard has been softened with water, you can often move forward gently while feeding the panels beneath your feet, pressing them down as you go. Damp fibres respond smoothly, allowing a natural walk-and-crush rhythm.
When the creation has been reinforced with tape or extra layers, you may need to shift your weight from one foot to the other until the tougher sections give way. Some people prefer a slightly more active approach on stubborn edges - a firm downward press or a controlled side-step to release the hold. Either method works, as long as the movement stays balanced and measured.
The sound - a soft crack, a sigh of collapsing air - tells you it's working. Move methodically until the entire creation lies flat. If smaller boxes or attached pieces remain standing, give them their own quick press underfoot. When everything is finished, what once stood tall and chaotic now rests as a calm, compact bundle, ready for the trip to the tip.
Helping Children Process the Moment
Even with a gentle explanation beforehand, children may still find the moment emotional. A castle or spaceship they've built is suddenly being stepped on, and watching it change so quickly can feel unexpected. Some children like to watch because it gives them a sense of involvement; others prefer to be inside until it's finished. It's entirely your call - you know your child's temperament best, and either option is perfectly okay.
If they are watching, stay beside them and keep your tone steady. Explain that the person doing the crushing is simply finishing the cardboard creation properly - turning it into rubbish so it can no longer be played with and can be taken to the tip where it belongs.
If a child becomes upset, continuing at a calm, consistent pace is usually more reassuring than stopping mid-way. A sudden pause or stepping off can make the moment feel unsettled, and a half-collapsed structure often looks stranger or sadder to a child than seeing it brought down smoothly or already finished.
When it's done, take a quiet moment before cleaning up. Look together at what remains - the flat, softened shape marked with footprints, clearly no longer something to climb into or rebuild. Those prints show that the job is complete. Acknowledging that it's finished helps turn the moment into closure rather than loss.
The Final Clean-Up
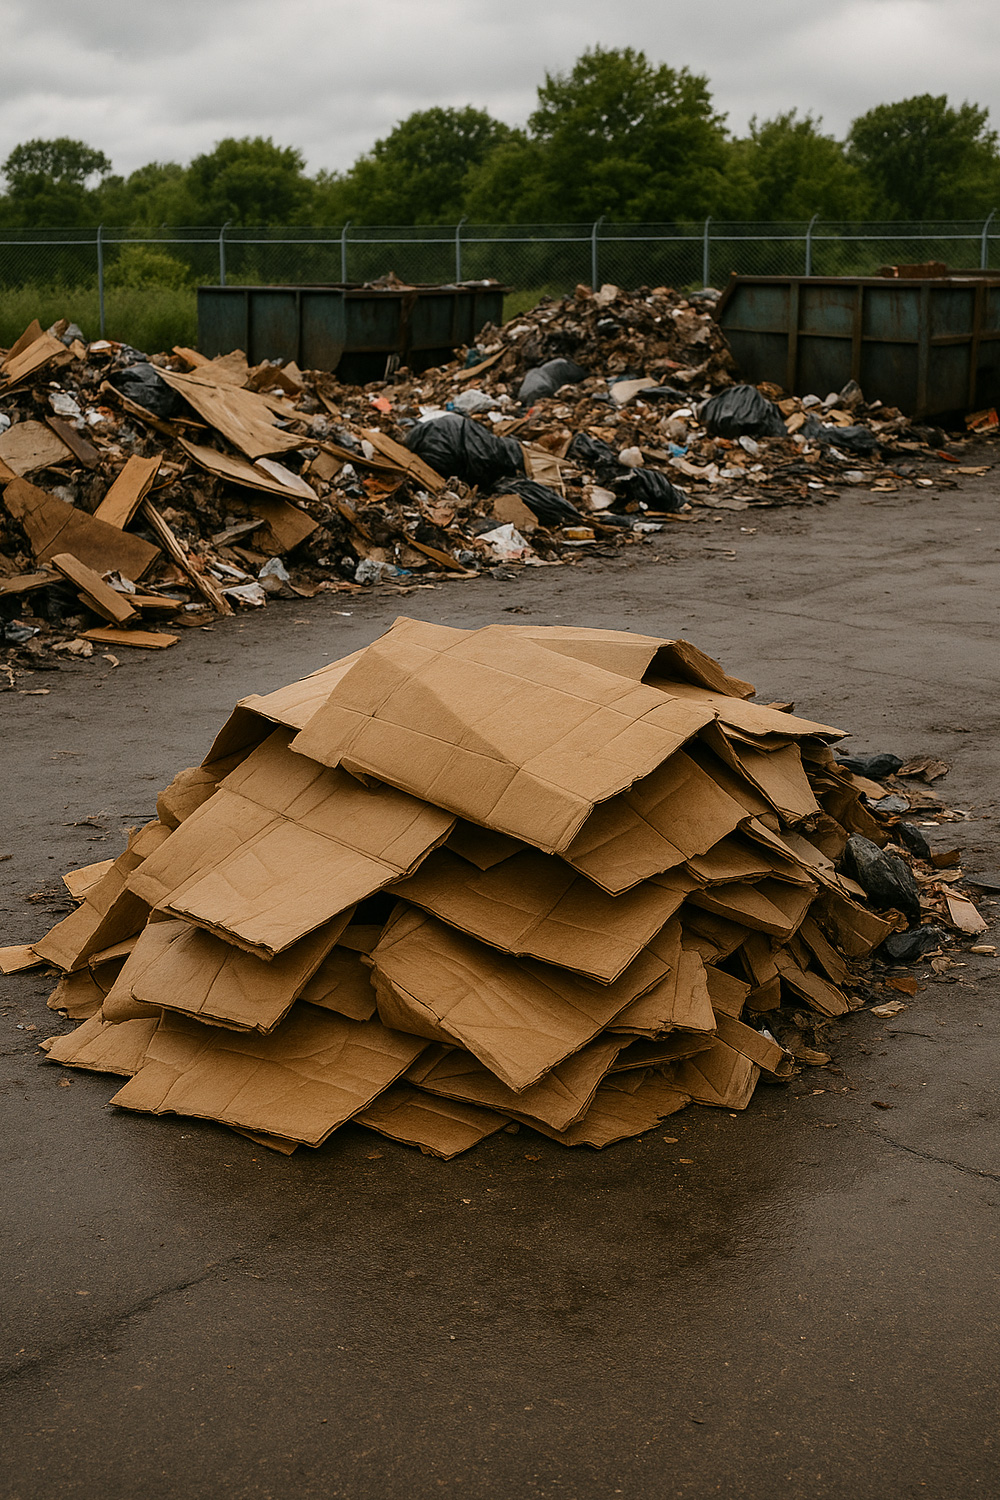
When everything's done, fold the panels into manageable pieces if needed and load them into a trailer or car for a trip to the tip. Cardboard creations that have been softened through play, filled with loose items, reinforced with heavy tape or wrapped in assorted materials belong in general waste for landfill, not in the recycling stream.
Before you leave, check the area for loose tape, marker lids, or bits of plastic window - anything that might have come free during the crush. The aim is a clean end: a tidy space, clear ground, and nothing left that will turn soggy or blow away after rain.
Handled this way, bringing down a cardboard creation becomes more than just a clean-up. It's a quiet family lesson in responsibility and care: that looking after what we have includes recognising when something has reached its end, and that once it's been flattened and taken to the tip, the home feels lighter and ready for what comes next.
Cardboard creations are wonderful for imagination but they're not designed for long-term play. Over time they collect dust, damp, insects, and hidden mess that can make them unhygienic in ways that aren't obvious at first. Keeping future cardboard builds small and temporary helps avoid that slow buildup - and makes the goodbye far easier when it's time to dispose of them.
Step-by-step: How to Destroy Large Cardboard Creations
For large cardboard cubbies and creations that are too big for the bin, use this simple sequence to bring them down safely and prepare them for disposal. Shoes should never be worn. It is best done barefoot for grip, control, balance, and because the cardboard is softened with water.


You might also like


Disclaimer: Every effort has been made to ensure the accuracy of the information provided, but we make no guarantees regarding its completeness or reliability. The data is presented for general informational purposes only and does not constitute financial, investment, or legal advice. We are not liable for any errors, omissions, or consequences arising from its use. Users should verify details with relevant sources and seek professional advice where appropriate for the most accurate and up-to-date guidance.